Food that looks fun tends to get eaten — and these 7 fruit and veggie “art” plates are built entirely around that idea. Using simple slicing and arranging techniques, ordinary produce becomes a butterfly, an owl, a lion, even a turtle, all without any cooking, added sugar, or complicated technique. Each design takes just a few minutes to assemble and works well as a snack, a fun lunch centerpiece, or a weekend activity to build together with your child. Below are all 7 ideas, along with quick instructions for each.
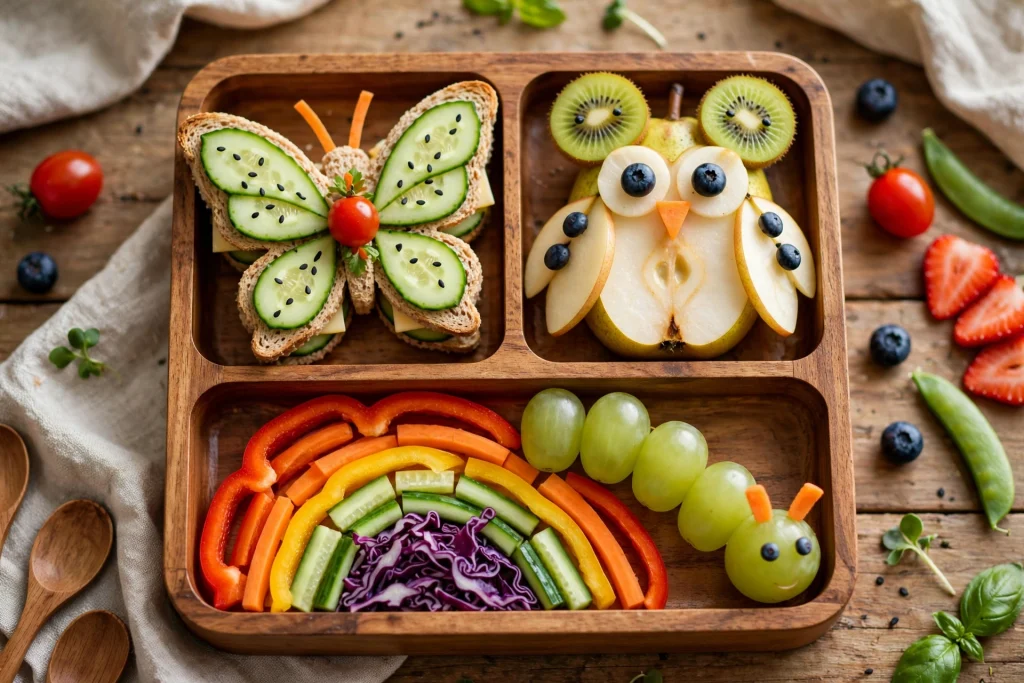
1. Butterfly Plate
Ingredients
- 4–5 strawberries, halved
- 1 banana, sliced
- A handful of blueberries and grapes
- 1 kiwi, sliced
How to Make It Arrange strawberry halves in a fan shape on either side of the plate to form wings, layering banana slices and kiwi rounds along the inner edges. Use a row of grapes down the center as the body, and place a blueberry at the top for the head.
Why Kids Love It The bright red-and-green color combination and symmetrical wing shape make this feel like a small piece of edible art rather than a plain fruit plate.
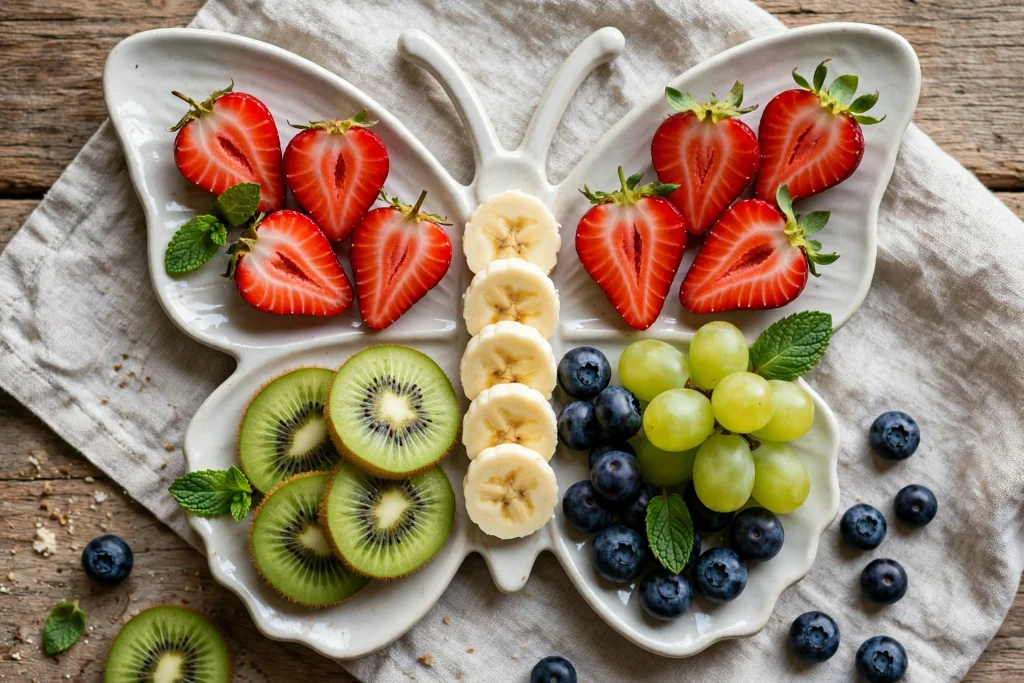
2. Owl Plate
Ingredients
- 2 kiwi slices (for eyes)
- 2 blueberries (for pupils)
- A small orange wedge (for the beak)
- Blackberries and blueberries (for the body and wings)
- Apple slices (for background “branches”)
How to Make It Place two kiwi rounds side by side for the eyes, topping each with a blueberry for the pupil. Add a small triangular orange wedge underneath for the beak. Surround the eyes with blackberries and blueberries to build out the owl’s round body, and arrange apple slices on either side as decorative branches.
Why Kids Love It The big, round “eyes” give this plate an instantly recognizable, almost cartoon-like face, which tends to grab a child’s attention immediately.
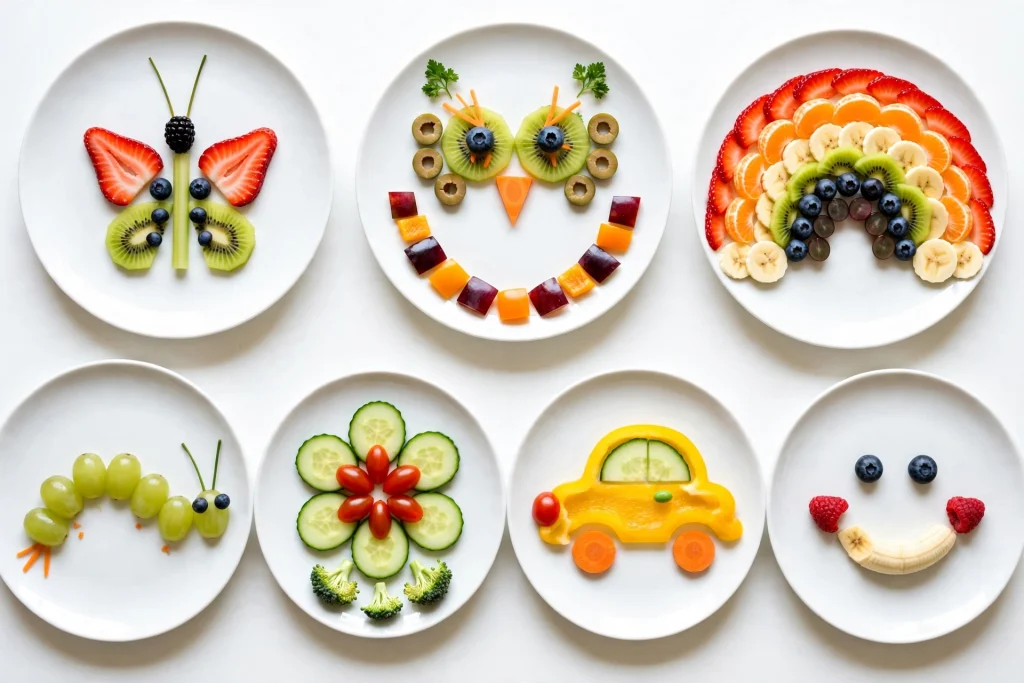
3. Rainbow Skewers
Ingredients
- Strawberries, orange segments, pineapple chunks, kiwi slices, grapes, and blueberries
- Wooden skewers
How to Make It Thread the fruit onto skewers in rainbow order — red strawberries, orange segments, yellow pineapple, green kiwi, and purple grapes or blueberries — repeating the pattern until the skewer is full.
Why Kids Love It The rainbow color order turns fruit into a colorful, structured pattern, and the skewer format makes it fun and easy for kids to eat piece by piece with their hands.
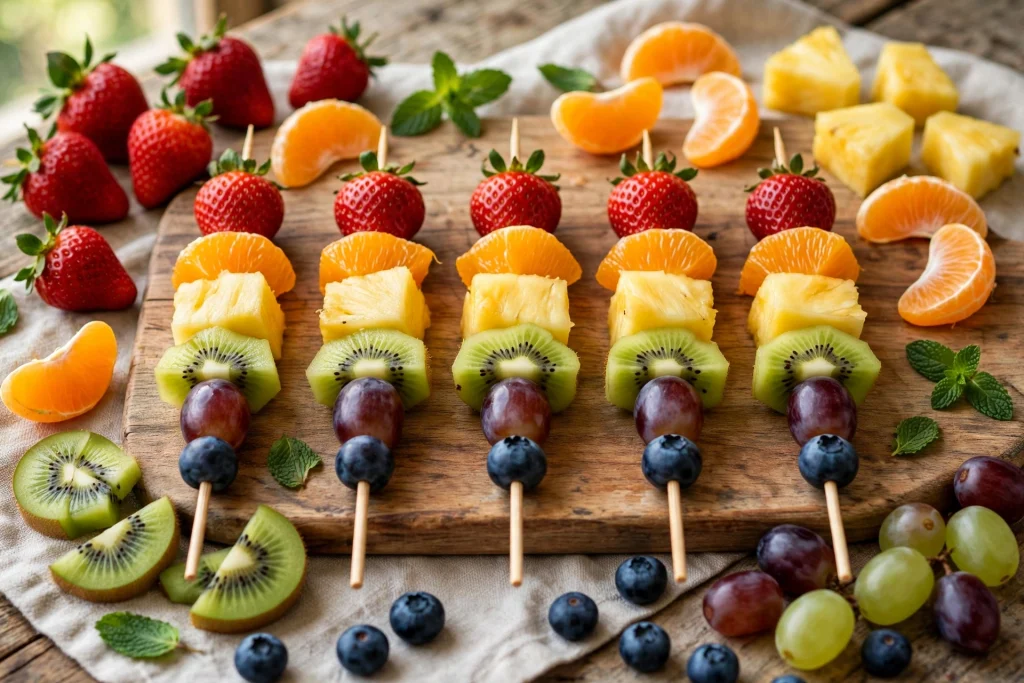
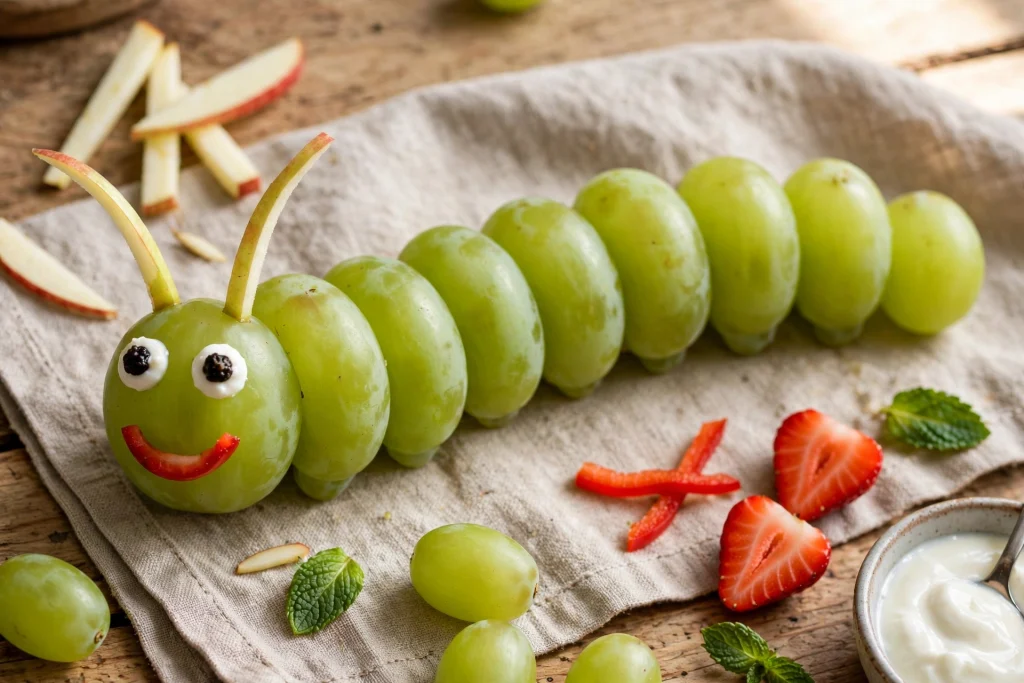
4. Caterpillar Grapes
Ingredients
- A bunch of green grapes
- 2 small pieces of thin apple or vegetable stem (for antennae)
- Small candy eyes or a dot of yogurt for the eyes
- A thin sliver of red pepper or strawberry (for the mouth)
How to Make It Line up grapes in a curved row to form the caterpillar’s body. Add two small antennae at the front using thin slivers of apple skin or vegetable stem, then place candy eyes and a tiny curved mouth piece at the head end.
Why Kids Love It Grapes are already a favorite for many kids, and turning them into a friendly-faced caterpillar adds a playful, low-effort twist that makes snack time feel like a mini project.
5. Lion Pancake
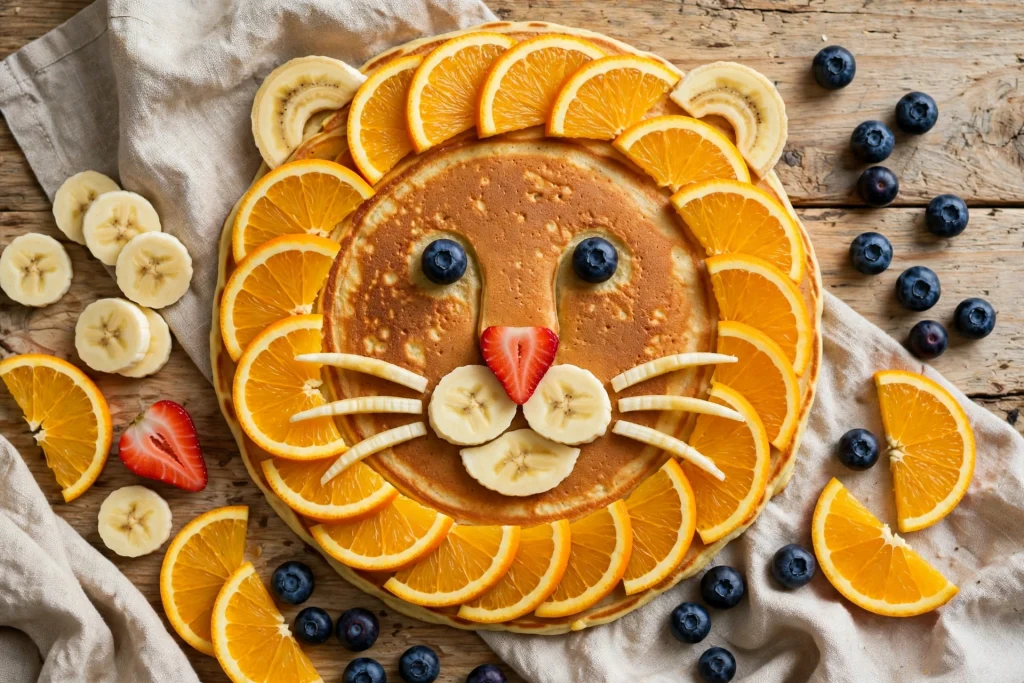
Ingredients
- 1 round pancake
- Orange slices (for the mane)
- 2 banana slices (for eyes)
- 2 blueberries (for pupils)
- A small strawberry slice or piece (for the nose)
How to Make It Place the pancake in the center of the plate and arrange orange slices around the outer edge to form a “mane.” Add banana slice eyes topped with blueberry pupils, and finish with a small strawberry piece as the nose.
Why Kids Love It This turns a familiar breakfast food into a fun character, making an otherwise ordinary pancake feel like a special, playful version of a food they already love.
6. Turtle Cucumber
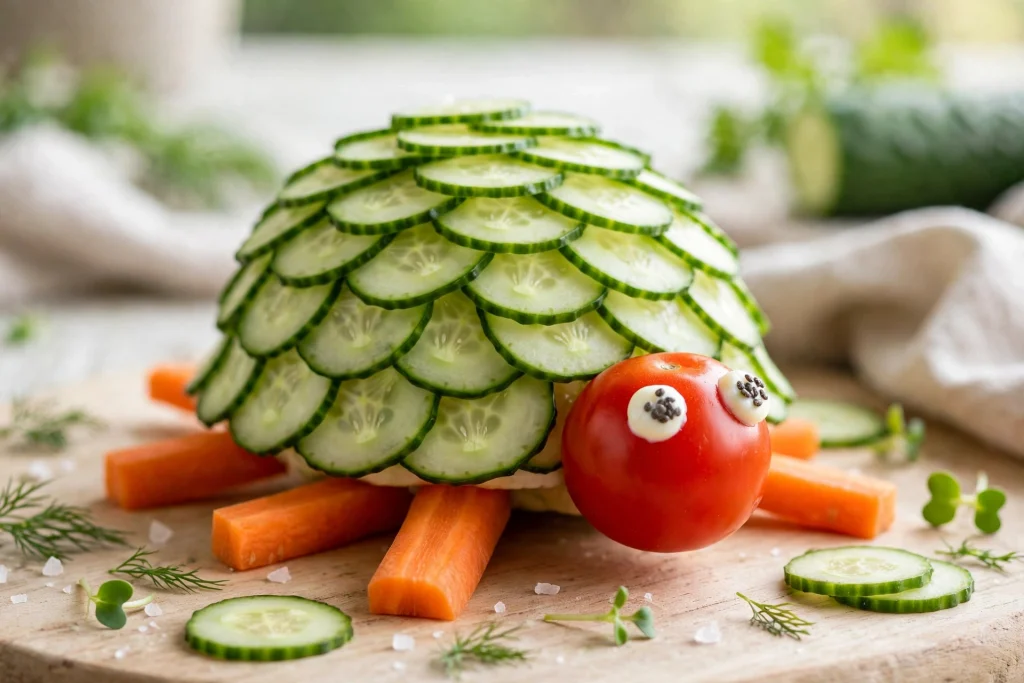
Ingredients
- Thin cucumber slices
- 1 small round fruit or vegetable (like a cherry tomato or small apple) for the head
- Carrot sticks (for the legs)
- Small seeds or dots of yogurt for the eyes
How to Make It Arrange overlapping cucumber slices in a domed, shell-like pattern. Place a small round piece at the front for the head, and tuck short carrot sticks underneath at the sides to form legs and a tail.
Why Kids Love It The layered cucumber “shell” is visually satisfying and different from how cucumbers are normally served, which can spark curiosity in a child who might otherwise avoid them.
7. Flower Cups
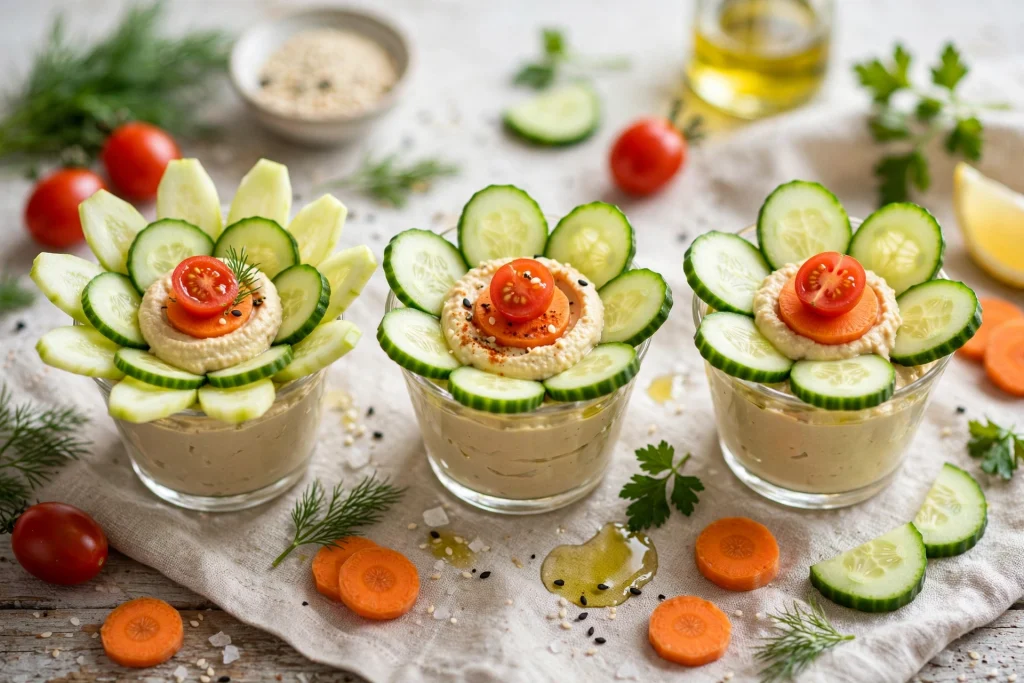
Ingredients
- Hummus or a yogurt-based dip
- Cucumber slices, cherry tomatoes, and thin carrot rounds
- Small individual cups or containers
How to Make It Spoon a small amount of hummus or dip into each cup. Arrange cucumber slices in a circular, petal-like pattern around the edge, and place a cherry tomato or carrot round in the center to complete the “flower.”
Why Kids Love It Individual portion cups feel special and personal, and the flower shape turns a typical veggies-and-dip snack into something visually appealing enough that kids are more likely to dig in.
General Tips for Fruit & Veggie Art
- Prep ingredients ahead, assemble just before serving: Pre-wash and slice fruit and veggies in advance, but put the final design together right before snack time so everything looks its freshest.
- Let kids help build: Placing grapes, arranging petals, or positioning eyes are simple tasks most kids can do themselves, and helping build the design tends to make them more excited to eat it.
- Keep a few staple shapes on hand: Small cookie cutters, skewers, and toothpicks make it easy to recreate these designs quickly without much extra effort.
- Rotate the designs: Introducing a “new” character or shape every so often keeps the novelty fresh, rather than relying on the same one repeatedly.
- Use natural coloring only: All of these designs rely on the natural colors of fruits and vegetables, so there’s no need for any added food coloring or sweeteners to make them visually appealing.
As with any new recipe or presentation, keep pieces appropriately sized for your child’s age to avoid choking hazards, and check with your pediatrician regarding any known allergies before introducing new foods.
🐦 Kicau Mania
Nikmati suara burung terbaik setiap hari! Rawat, latih, dan cintai burung kicauanmu.