Green vegetables are often the hardest sell at the dinner table, but presentation can change everything. These 3 veggie art ideas turn broccoli, cucumber, and peas into a miniature forest, a smiling turtle, and a crawling caterpillar — no cooking required, just a bit of slicing, arranging, and a little imagination. Each one takes only a few minutes to put together and works well as a fun snack, a creative lunch addition, or a weekend activity to build together with your child, turning vegetables from an obligation into something worth exploring.
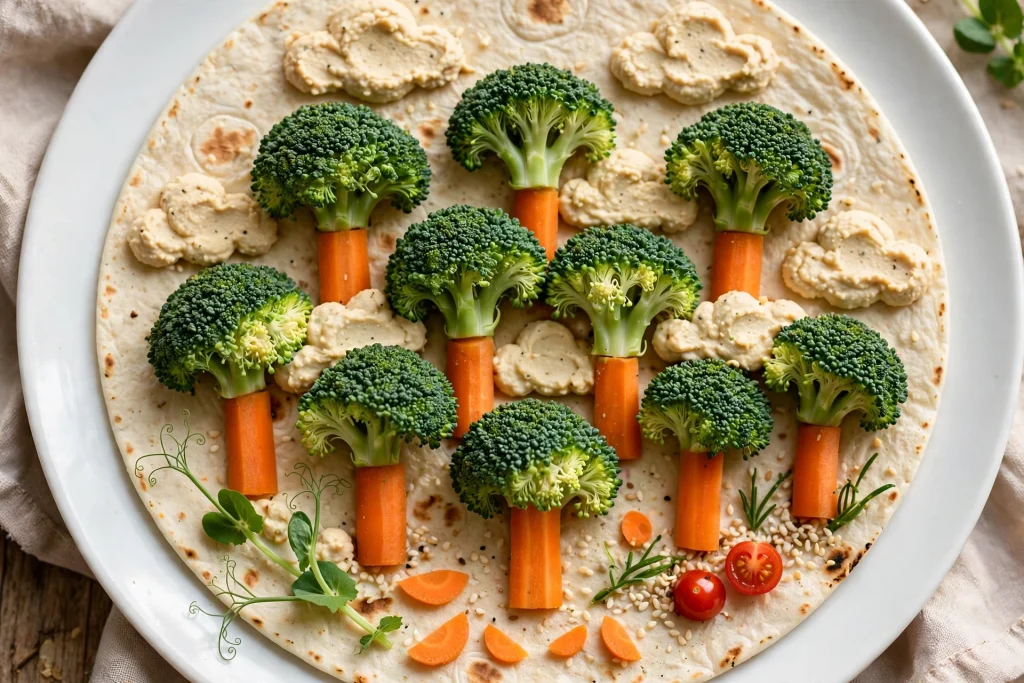
1. Broccoli Forest
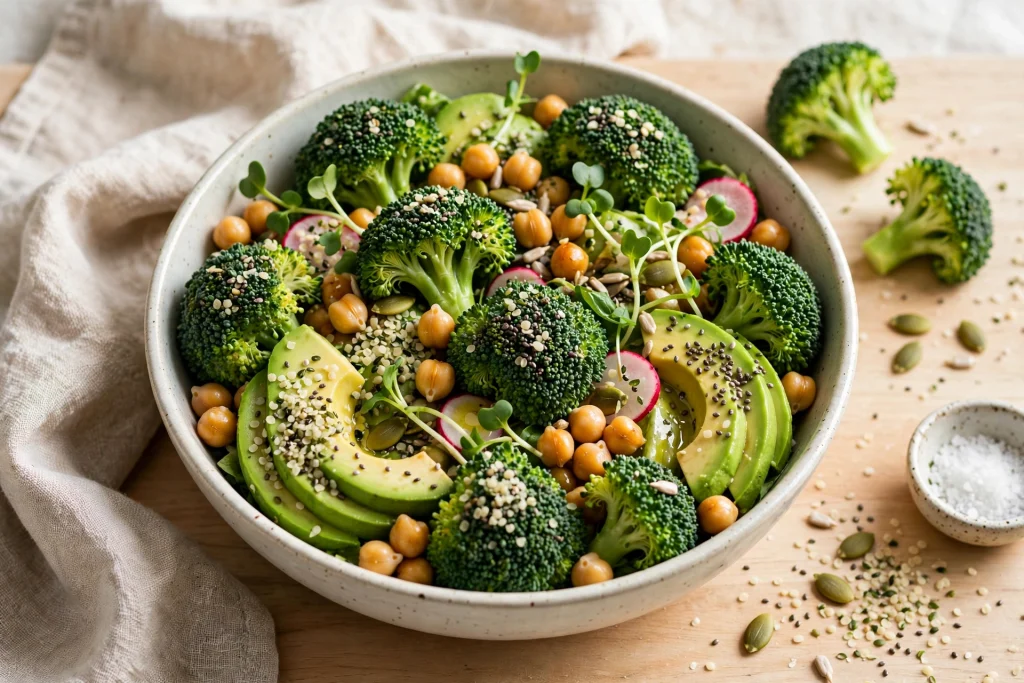
Ingredients
- 6–8 broccoli florets, trimmed into small “tree” shapes
- 2–3 cherry tomatoes, sliced to resemble tiny houses (optional)
- A few thin carrot rounds or slices, for a “path”
- A small handful of black olive slices, for decorative “stones”
How to Make It Trim the broccoli florets so each one stands upright like a small tree, with a short stem as the “trunk.” Arrange them in a cluster or scattered pattern across a plate or wooden board to form a little forest. Lay thin carrot rounds in a winding line between the broccoli trees to create a path, and tuck a few olive slices alongside as decorative stones. If desired, slice cherry tomatoes to look like tiny rooftops for a whimsical “forest cottage” touch.
Why It Works Turning broccoli into a miniature landscape shifts the focus from “eating a vegetable” to exploring a small scene, which taps into imaginative play — something most kids are naturally drawn to. Nutritionally, broccoli is rich in fiber, vitamin C, and vitamin K, and presenting it this way makes it far more likely to actually get eaten rather than pushed aside.
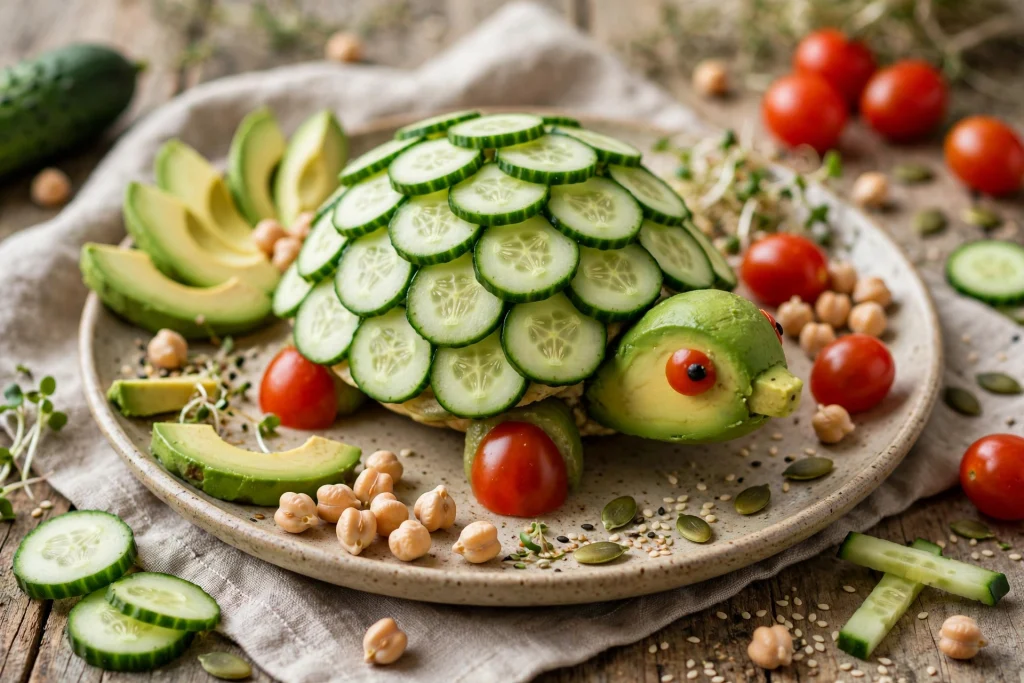
2. Cucumber Turtle
Ingredients
- 1 mini cucumber or a section of a regular cucumber, for the body and head
- Thin cucumber slices, for the shell
- 2 small black olive pieces or seeds, for the eyes
- A small piece of carrot or red pepper, for the nose or mouth
- Lettuce leaves, for a “grass” base
How to Make It Cut a section of cucumber into a rounded body shape with a smaller piece attached or shaped as the head. Slice a few thin cucumber rounds and layer them in an overlapping, shell-like pattern on top of the body to form the turtle’s shell. Add two small olive pieces as eyes and a tiny sliver of carrot or red pepper as a smiling mouth. Set the finished turtle on a bed of lettuce leaves to complete the scene.
Why It Works The layered cucumber shell is visually striking and very different from how cucumber is typically served, which can spark curiosity even in a child who usually avoids it. Because the design uses the cucumber itself as both the shell and the body, this recipe stays extremely simple while looking impressively detailed.
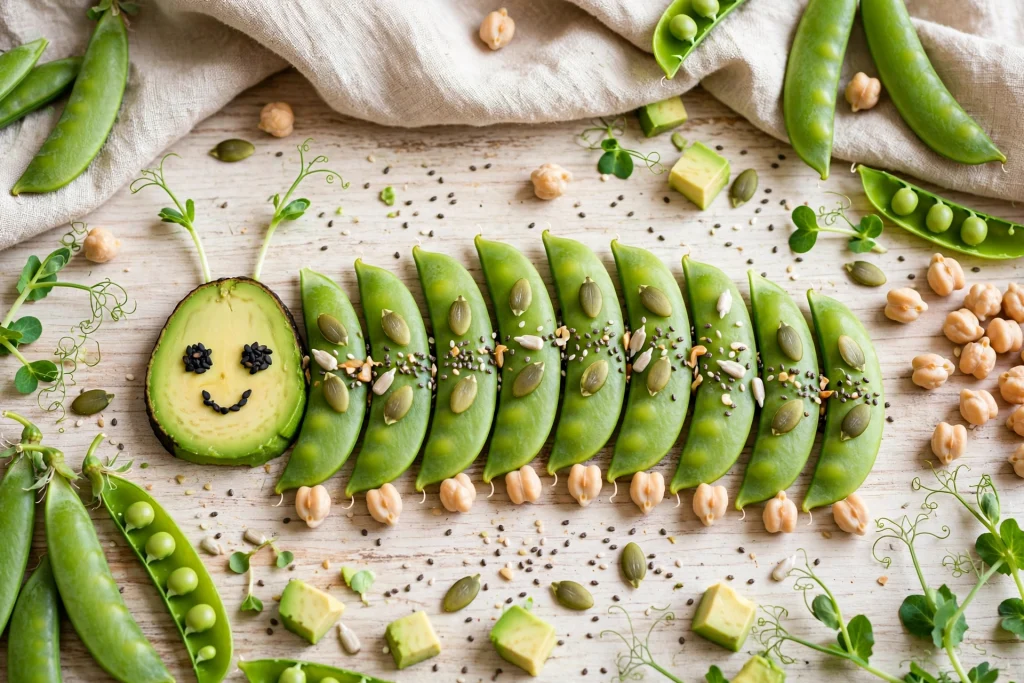
3. Pea Caterpillar
Ingredients
- A handful of sugar snap peas or snap pea pods, left whole or halved
- 2 small pieces of pea shoot, thin celery leaf, or a fine herb sprig, for antennae
- 2 small dots of black icing, seeds, or tiny olive pieces, for the eyes
- A small piece of carrot or red pepper, for a smiling mouth
How to Make It Arrange the sugar snap peas or pea pods in a curved row on a plate or small wooden board, slightly overlapping each one to form a segmented caterpillar body. At the front of the row, add two small dot “eyes” and a tiny curved piece for the mouth. Insert two thin antennae — a small sprig of herb or a thin vegetable strip — at the top of the head to complete the look.
Why It Works Peas already have a mild, naturally sweet flavor that many kids tolerate well, and lining them up into a friendly caterpillar face adds a layer of playfulness that turns a simple vegetable into a mini character worth investigating. This design also works well as a finger-food format, since pea pods are easy for small hands to pick up and eat piece by piece.
General Tips for Veggie Art Success
- Keep pieces appropriately sized: For younger toddlers, cut vegetables into smaller, softer pieces to reduce choking risk, especially for firmer vegetables like carrot or cucumber.
- Assemble just before serving: Vegetables can dry out or lose their crisp appeal if arranged too far in advance, so build the design shortly before snack time.
- Let kids help build the scene: Placing broccoli “trees,” arranging the cucumber shell, or lining up peas are simple, low-mess tasks that most kids can help with, which tends to increase their interest in eating the finished design.
- Rotate between designs: Introducing a “new” character or scene periodically keeps the novelty fresh rather than relying on the same design every time.
- Pair with a dip: A small side of hummus or a yogurt-based dip can make these veggie plates even more appealing, giving kids something interactive to do with each piece.
As with any new food presentation, keep pieces sized appropriately for your child’s age to avoid choking hazards, and check with your pediatrician regarding any known allergies before introducing new foods.
🐦 Kicau Mania
Nikmati suara burung terbaik setiap hari! Rawat, latih, dan cintai burung kicauanmu.