Some recipes are really crafts in disguise, and these Chocolate-Dipped Strawberry Ladybugs are a perfect example. Fresh strawberries get a glossy chocolate coat, a tiny chocolate head, a few spots, candy eyes and curly antennae. The result is a tray of adorable ladybugs that are as fun to make as they are to eat.
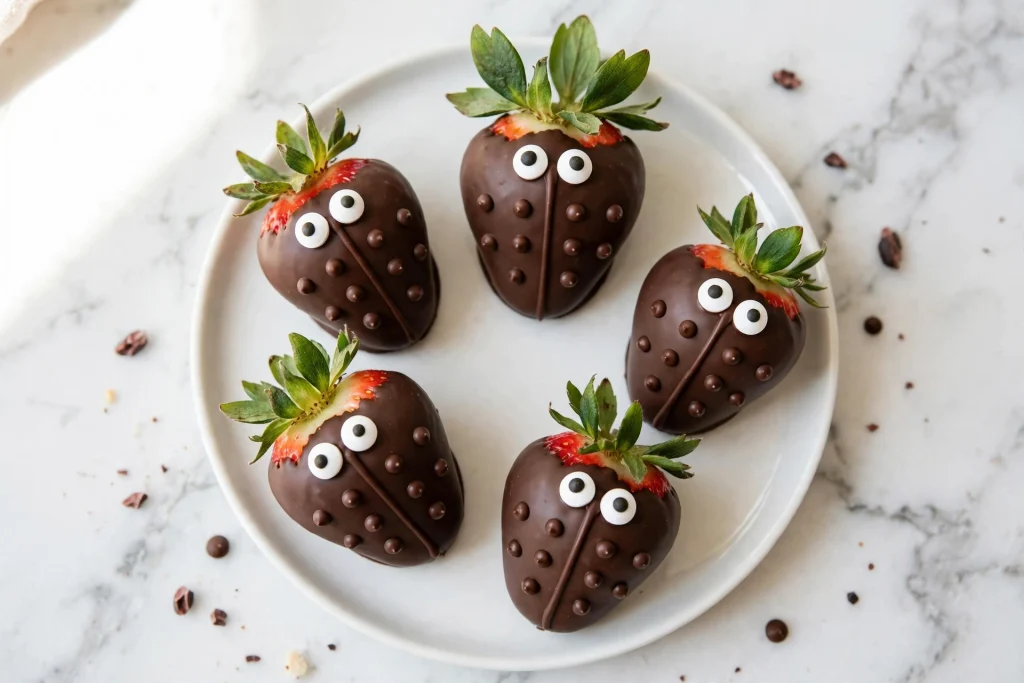
The whole project follows just three easy steps: gather the ingredients, coat the strawberries in chocolate and decorate the eyes. It needs no baking, only a few ingredients and about 30 minutes, which makes it a great activity for a rainy afternoon, a birthday party or a spring-themed snack.
In this post you’ll find the full recipe, a clear three-step method, decorating tips, ideas for using the ladybugs at parties, variations, storage advice, safety notes and answers to common questions.
Why Kids (and Parents) Love This Recipe
- Three easy steps. Gather, dip, decorate.
- Real fruit. Strawberries give you natural sweetness and vitamin C.
- Hands-on fun. Kids can add the eyes, the dots and the antennae.
- Great for parties. They look impressive on a dessert table.
- No oven. Just melting and chilling.
- Customizable. Use dark, milk or white chocolate and change the details to match your theme.
Chocolate-Dipped Strawberry Ladybugs Recipe
Prep time: 25 minutes Chill time: 15 minutes Cook time: None Yield: about 16 to 20 ladybugs
Ingredients (Step 1)
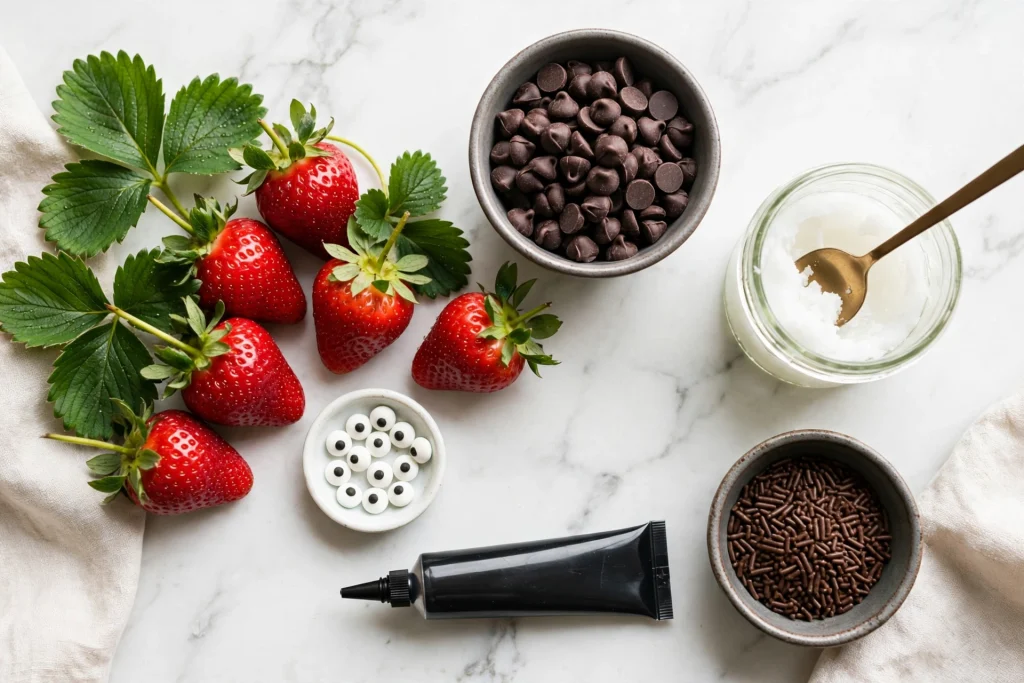
- 1 lb (450 g) fresh strawberries, with the green leaves left on, washed and thoroughly dried
- 1½ cups (about 250 g) dark or semi-sweet chocolate chips or chopped chocolate
- 1 teaspoon coconut oil or neutral oil (optional, for a smoother coating)
- 32 to 40 candy eyes (2 per ladybug)
- Extra melted chocolate or a small amount of black decorating gel for the dots, lines and antennae
- Optional: chocolate sprinkles for decoration
Equipment
- Microwave-safe bowl or a heatproof bowl set over simmering water
- Fork or small skewer for dipping
- Piping bag with a fine tip, or a small zip-top bag with a tiny corner snipped
- Parchment-lined baking sheet
- Toothpick or tweezers (for placing small details)
- Paper towels
The Three Easy Steps
Step 1: Prepare the Ingredients
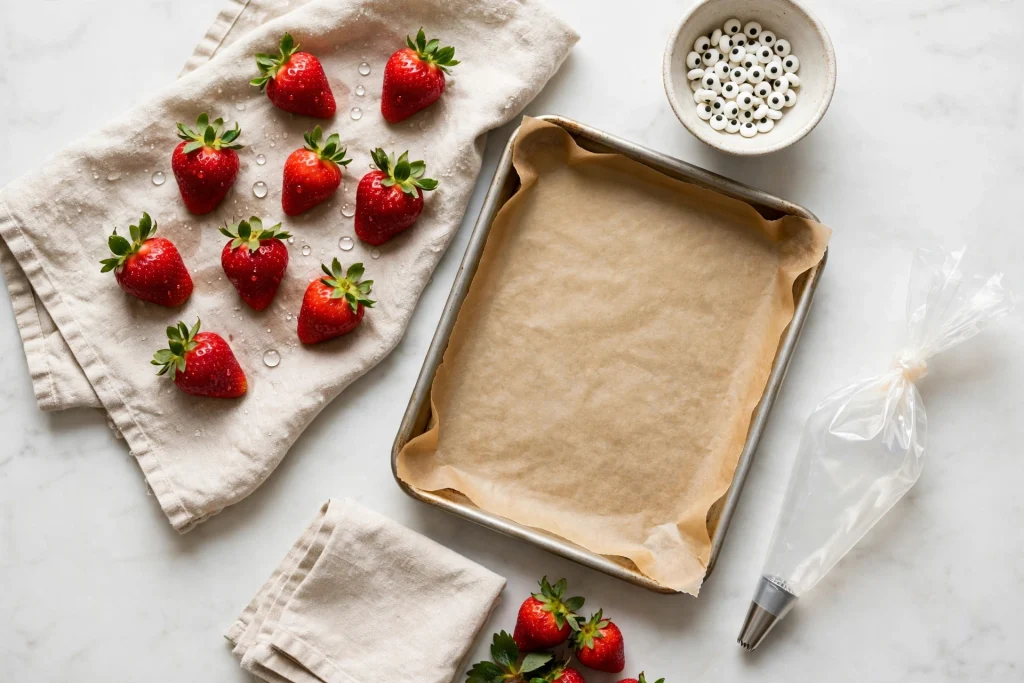
- Wash and dry the strawberries. Rinse them under cool water and pat them completely dry. Any moisture on the berries will cause the chocolate to slide off or seize.
- Choose the best berries. Pick medium to large strawberries that are firm and well shaped, with their leaves still attached. The leaves look like the ladybug’s little cape and make good handles for dipping.
- Set up your station. Line a baking sheet with parchment paper. Put the candy eyes, a piping bag and a toothpick within reach before you melt the chocolate. Chocolate sets fast, so being ready makes things smoother.
Step 2: Dip in Chocolate (the Chocolate Coating)

- Melt the chocolate. Place the chocolate chips and coconut oil in a microwave-safe bowl. Heat in 20 to 30 second bursts, stirring after each one, until completely smooth. Don’t overheat. The chocolate should be warm, not hot.
- Dip the base. Hold a strawberry by its leaves and dip the bottom half into the melted chocolate. Tilt and turn it so the bottom is coated evenly. Let the extra chocolate drip back into the bowl.
- Set the berry down. Place the strawberry on the parchment paper and let it rest. For the ladybug look, the top of the strawberry stays red and the bottom is chocolate, which makes the dark “underside” of the ladybug.
- Make the head. Using a fork or small spoon, add a small dome of chocolate near the leaves to create the head. Alternatively, pipe a thick blob of melted chocolate where the leaves meet the berry.
- Optional: coat some berries fully. For variety, dip a few strawberries completely in chocolate to make dark “chocolate ladybugs” like the ones in the picture.
Step 3: Decorate (the Eyes and Details)
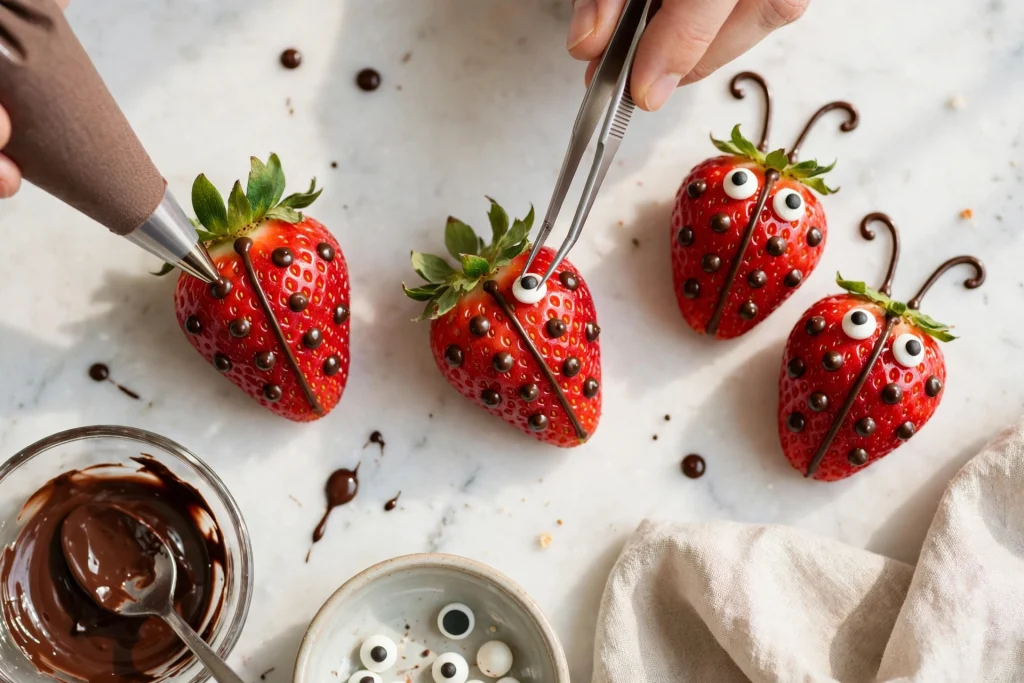
- Add the eyes. While the chocolate head is still soft, use a toothpick or tweezers to place two candy eyes on it. Press gently so they stick.
- Draw the line. Fill a piping bag with a little melted chocolate. Pipe a thin line down the center of the red part of the strawberry from the head to the tip. This is where the ladybug’s wings divide.
- Add the spots. Pipe 3 to 5 small dots on each side of the line. Vary the sizes for a natural look.
- Pipe the antennae. Add two tiny curly lines on top of the head. Use a toothpick to shape the curls.
- Chill to set. Place the tray in the refrigerator for 15 minutes until the chocolate is firm.
- Serve. Arrange the ladybugs on a platter, with mint leaves for a garden look.
Tips for Perfect Ladybugs
Dry the berries completely
This is the number one rule. Even a drop of water can make melted chocolate seize and turn grainy.
Keep the chocolate at the right temperature
Warm chocolate pipes smoothly. If it begins to thicken, reheat it for 5 to 10 seconds. If it’s too hot, the dots will run, so let it cool for a minute.
Use the leaves as handles
Leaving the leaves on gives you something to hold and makes the ladybug look more finished.
Pipe with a steady hand
Lean your wrist on the table when you pipe the line and dots. It helps with control. If a dot comes out too big, shape it with a toothpick.
Pipe the head before the dots
A set head gives you a stable base for the eyes, and the details look neater.
Work in small batches
Decorate 4 to 5 ladybugs at a time before the chocolate sets. Keep the rest of the chocolate warm over a bowl of hot water.
Chill briefly, not too long
Cold strawberries sweat when they come out of the fridge. Chill for 15 minutes, then serve right away.
Which Chocolate Is Best?
Dark or semi-sweet chocolate. Best for the classic black and shiny look. It sets firmly and has a rich flavor that balances the sweet strawberries.
Milk chocolate. Sweeter and creamier, a favorite with younger kids. Slightly softer when set.
White chocolate. Great for “ghost” or pastel versions. You can tint white chocolate melts for different colors.
Candy melts. Easy to use and set quickly, but the flavor is less rich than real chocolate.
Whatever you choose, use good-quality chips or chopped bars for a smooth, glossy finish.
Fun Ways to Use Strawberry Ladybugs
- Birthday party platter. Place them on a tiered stand with other red and black snacks.
- Garden party. Serve them on a bed of mint leaves, with flowers around the plate.
- Classroom treat. Make individual ladybugs and pack them in cupcake liners for school events (check allergy policies first).
- Cake decoration. Use them to top a cake or a batch of cupcakes.
- Valentine’s or spring snack. Make heart-shaped chocolate dots for a sweet twist.
- Kids’ craft afternoon. Put out bowls of candy eyes and chocolate and let each child decorate their own.
Variations
Milk Chocolate Ladybugs. Use milk chocolate for a sweeter, kid-friendly flavor.
White Chocolate Ghosts. Dip the berries in white chocolate and add two eyes for a Halloween snack.
Bumblebee Strawberries. Use yellow candy melts with chocolate stripes and add small almond-sliver wings for older kids.
Sprinkle Ladybugs. Roll the chocolate-coated base in chocolate sprinkles for extra crunch.
Nut-free version. Use nut-free chocolate and skip any almond antennae.
Dairy-free version. Use dairy-free dark chocolate chips and check the candy eyes for milk-derived ingredients.
Mini ladybugs. Use small strawberries and mini candy eyes for bite-sized bugs.
Make-Ahead and Storage
- Make ahead: Prepare the ladybugs up to 4 hours before serving for the best results. Strawberries release moisture over time, which can make the chocolate soften.
- Prep the day before: Wash, dry and store the strawberries in the fridge on paper towels. Melt chocolate and decorate the next day.
- Storage: Keep decorated ladybugs in a single layer in an airtight container lined with paper towels in the refrigerator. Eat within 24 hours.
- Serving temperature: Let them sit at room temperature for 5 minutes before serving so the chocolate isn’t too hard.
- Do not freeze. Fresh strawberries become soft and watery after freezing and thawing.
Safety and Allergy Notes
- Choking hazards. Whole strawberries, candy eyes and chocolate pieces can be a risk for babies and toddlers. For children under 4, cut strawberries into small pieces and leave off the candy eyes. Always supervise young children while they eat.
- Candy eyes. Many candy eyes are made of sugar and may contain allergens or artificial colors. Check labels, especially for allergies.
- Chocolate allergens. Chocolate often contains milk and soy and may contain traces of nuts. Choose allergy-friendly brands if needed.
- Hot chocolate. Melted chocolate can be hot. Adults should handle melting and let kids dip only after the chocolate has cooled slightly.
- Food safety. Wash strawberries well and keep the finished ladybugs refrigerated.
If you are unsure about what is right for your child, ask your pediatrician.
Troubleshooting
The chocolate turned thick and clumpy. Water probably got in, or it was overheated. Start again with a dry bowl and melt in short bursts.
The chocolate won’t stick to the berries. The strawberries were damp or cold and wet. Dry them well and let them come to room temperature.
The candy eyes slide off. The head chocolate was too hot or too set. Place the eyes when the chocolate is soft but not runny, or attach them with a small dot of melted chocolate.
The dots spread. The chocolate is too warm. Let it cool for a minute or use a smaller piping tip.
The strawberries are sweating. They were chilled too long or taken straight from the fridge into a warm room. Serve soon after chilling.
The line and dots are messy. Practice on a piece of parchment first, and use a toothpick to fix mistakes.
Frequently Asked Questions
Can I make these without a piping bag? Yes. Use a toothpick to dab dots of chocolate and draw the line, or use a zip-top bag with a tiny corner snipped.
Can I use store-bought icing? Black decorating gel or icing works well for the dots and antennae, but it stays softer than chocolate.
How far in advance can I make them? Up to 4 hours ahead is best, though they can be refrigerated for up to a day.
Can kids make these on their own? Kids from about 4 can add eyes and dots with help. Adults should handle melted chocolate and the knife.
What if I can’t find candy eyes? Use white icing dots with a tiny chocolate dot in the center, or two mini chocolate chips.
Can I use frozen strawberries? No. Frozen berries are too wet and soft for dipping.
How many strawberries do I need for a party? One pound makes about 16 to 20 ladybugs. Plan on 1 to 2 per child.
Final Thoughts
Chocolate-Dipped Strawberry Ladybugs prove that a simple fruit can become a charming party treat with just a bit of chocolate and imagination. The three-step method makes it easy for beginners, and the finished ladybugs look like they came from a bakery. Gather your strawberries, melt some chocolate, let the kids add the eyes and enjoy a sweet little craft you can eat.