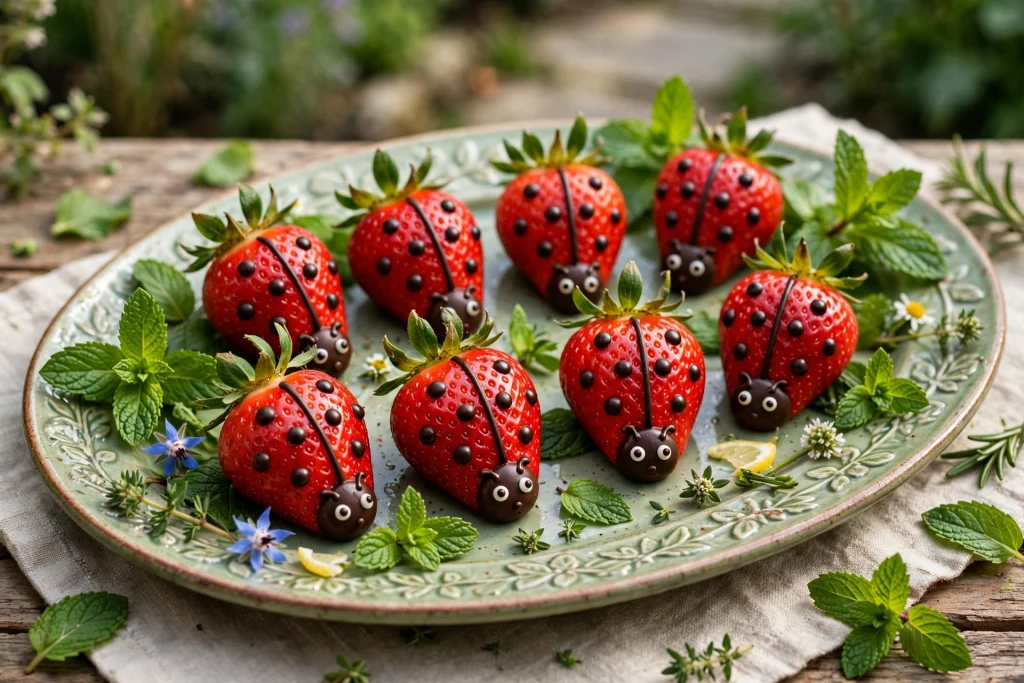
Some party foods are delicious. Others are delicious and make everyone smile. Adorable Ladybug Strawberries are the second kind. With a few fresh strawberries, a little melted chocolate or black decorating gel and a handful of mini chocolate chips, you can turn ordinary fruit into a tray of tiny, spotted ladybugs.
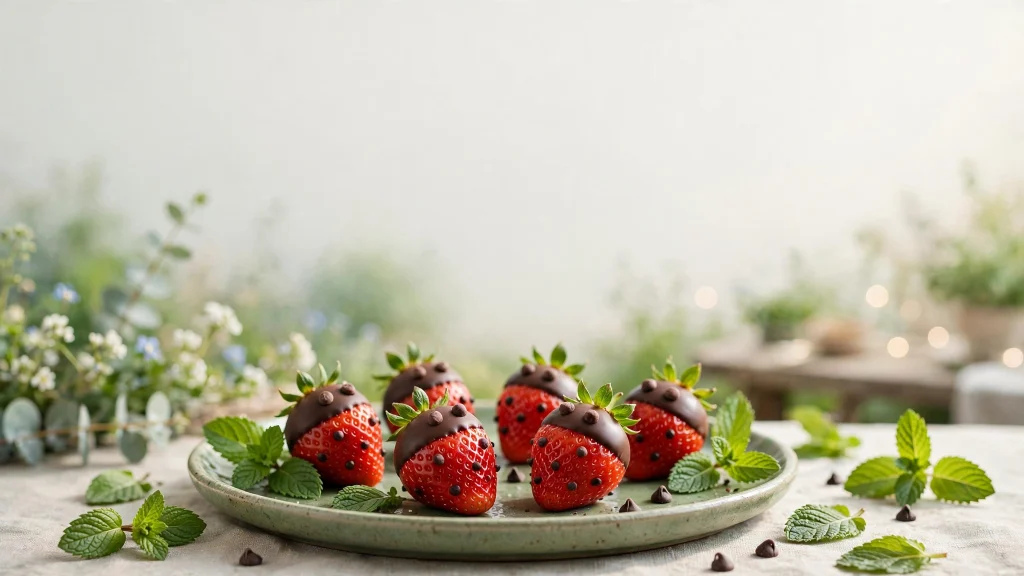
They are healthy, colorful and perfect for birthday parties, garden-themed celebrations, classroom events and spring gatherings. They also need no baking, take less than 30 minutes and are a wonderful activity for children who love to decorate.
In this post you’ll find the full recipe, step-by-step instructions, decorating tips, ideas for serving at a party, variations, storage advice, safety notes and answers to common questions.
Why You’ll Love Ladybug Strawberries
- Naturally sweet and fresh. Strawberries are juicy, bright and loved by most kids.
- No baking. Just wash, decorate and chill.
- Ready in under 30 minutes. Most of the time is spent on cute details.
- A fun activity. Kids can add eyes, dots and antennae.
- Perfect for themed parties. Ideal for garden, ladybug, spring, nature or picnic parties.
- Easy to scale. Make 10 or 50 depending on the size of the party.
Adorable Ladybug Strawberries Recipe
Prep time: 20 minutes Chill time: 10 minutes Cook time: None Yield: about 20 ladybugs (1 lb of strawberries, depending on size)
Ingredients
- 1 lb (450 g) fresh strawberries, rinsed and thoroughly dried
- Black decorating gel or melted dark chocolate (about ½ cup chocolate chips if melting)
- Mini chocolate chips (for the eyes)
- Optional: sliced almonds for antennae (for older children only)
Equipment
- Piping bag with a fine tip (or a zip-top bag with a tiny corner snipped)
- Small bowl for melting chocolate
- Paper towels
- Baking sheet or tray lined with parchment paper
- Toothpick (for fine details)
Instructions
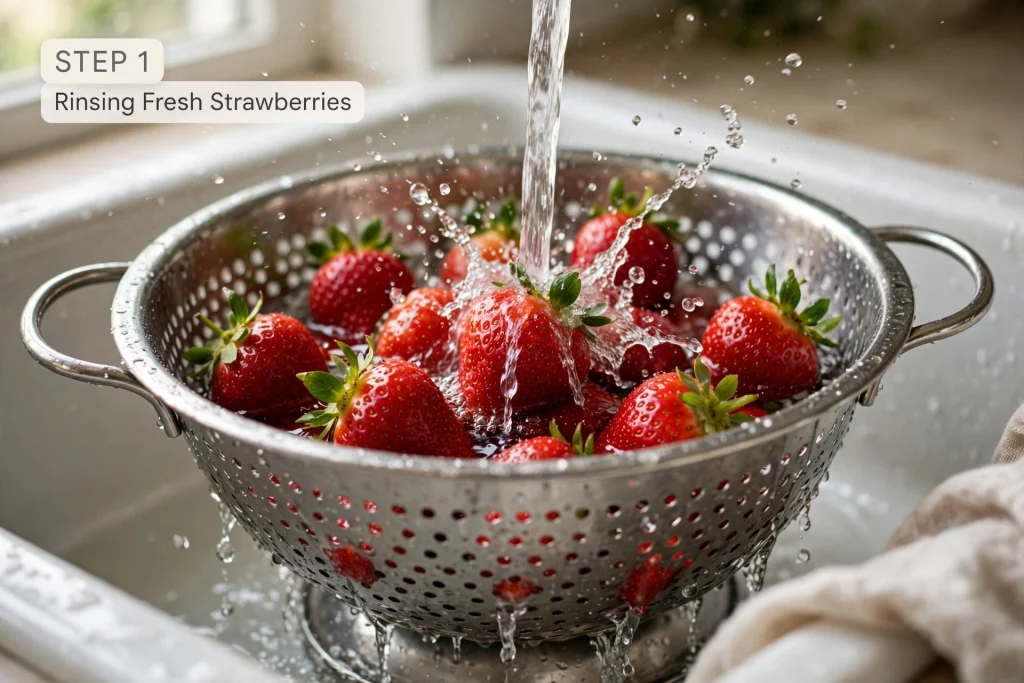
Step 1: Wash and thoroughly dry the strawberries. Rinse the berries and pat them dry with paper towels. Dry fruit is the key. Any water on the surface will stop the chocolate and gel from sticking.
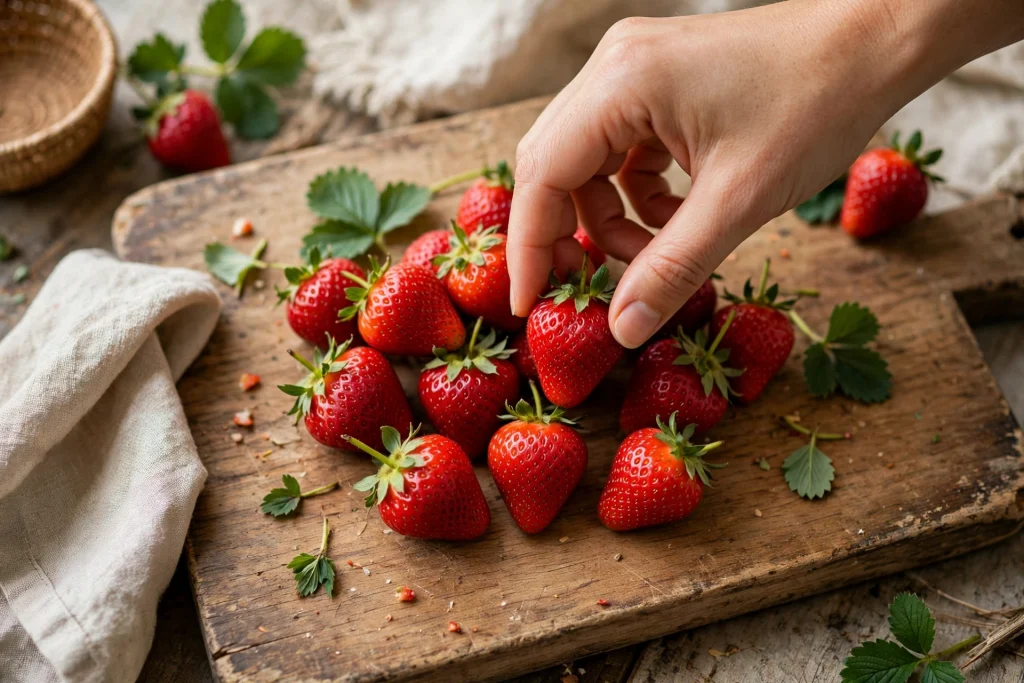
Step 2: Choose and prepare the berries. Pick medium-sized, well-shaped strawberries with a pointed tip. Remove the green leaves and hull with a small knife, then stand each berry on its wide, flat end with the pointed tip facing up. Alternatively, lay it on its side with the cut stem end as the head.
Step 3: Make the head. Pipe a small black head at the stem end using black decorating gel or melted chocolate. For a smoother look, you can also dip the stem end into melted chocolate and let the excess drip off. Place the berries on parchment paper.
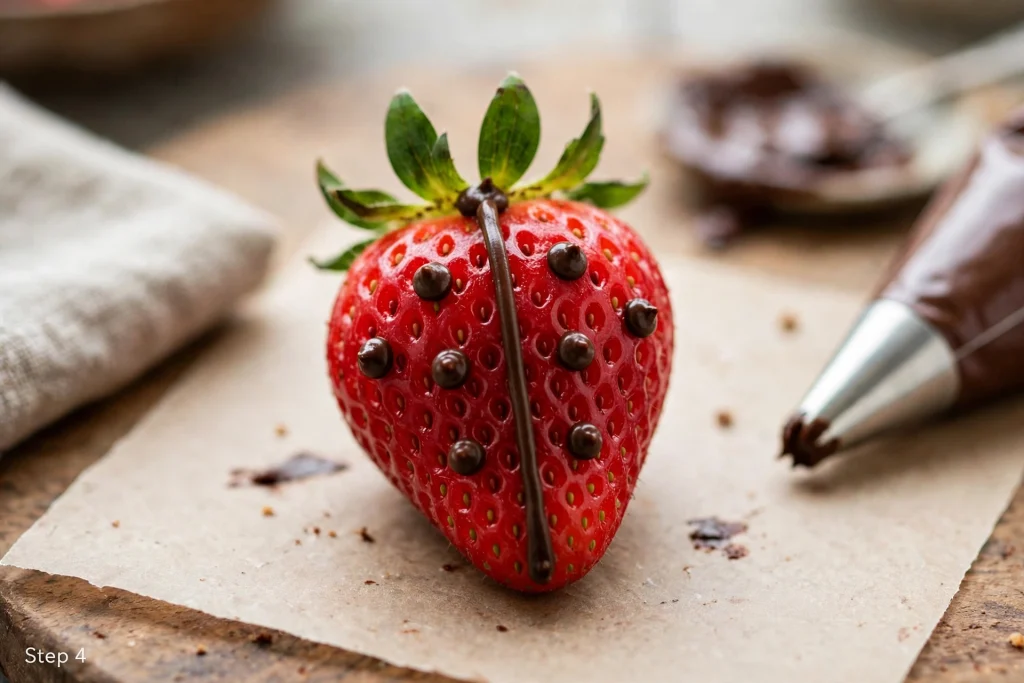
Step 4: Add the black line and dots. Pipe a thin line down the center of the strawberry from head to tail to make the wings. Add black dots on each side of the line for the ladybug’s spots. Use a toothpick to dab small dots for neat, even spots.
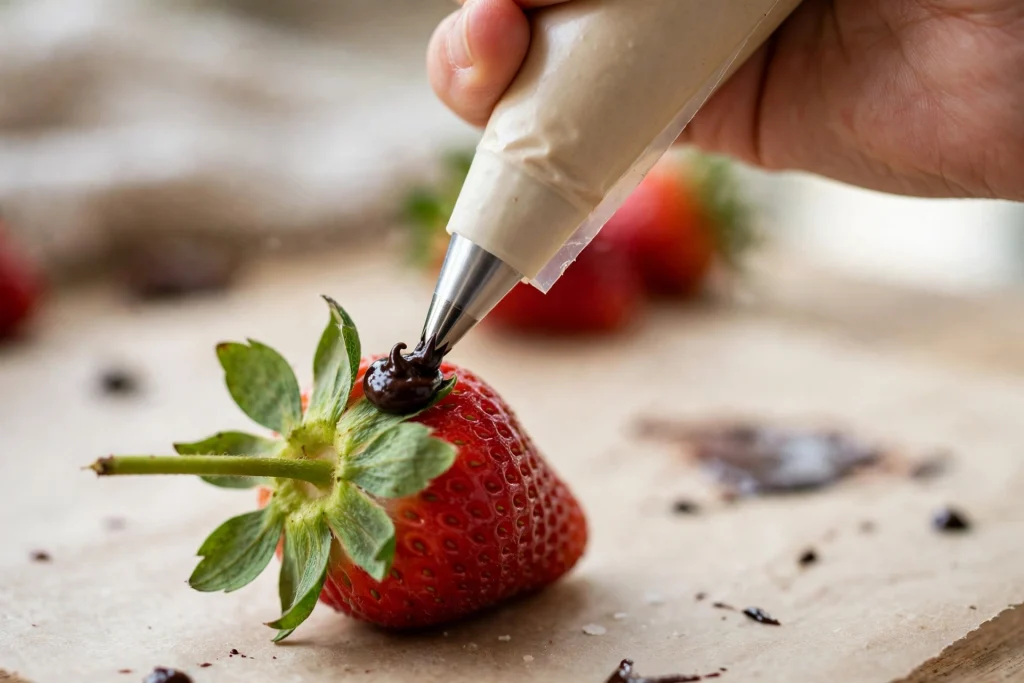
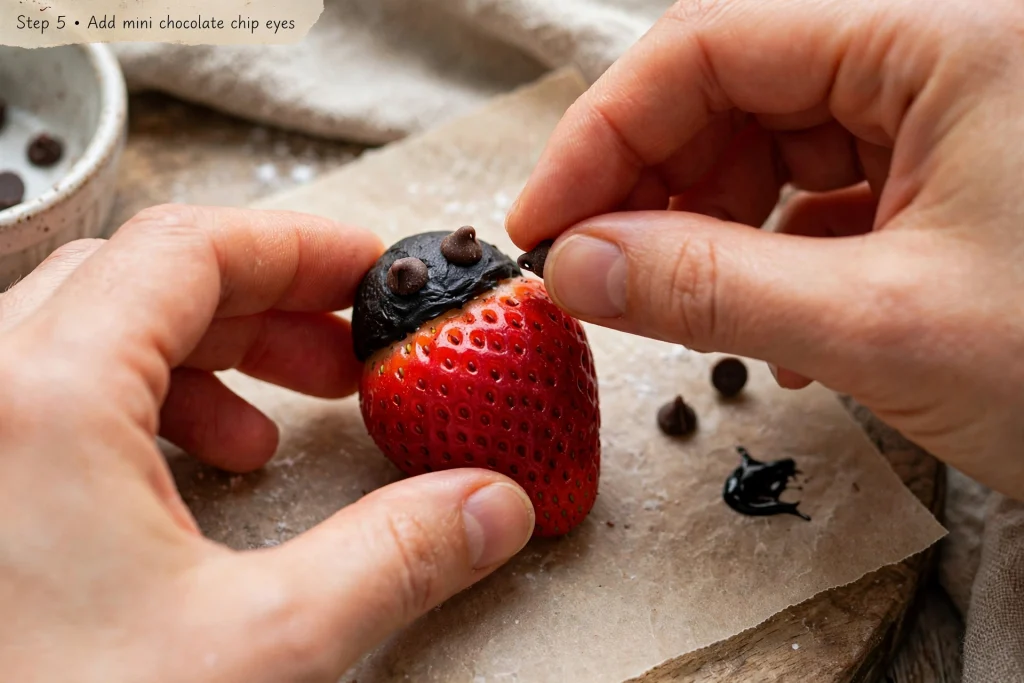
Step 5: Add the eyes. While the head is still wet, press two mini chocolate chips onto it, flat side down, for eyes. You can also add a tiny dot of white icing to each eye for a cartoon look.
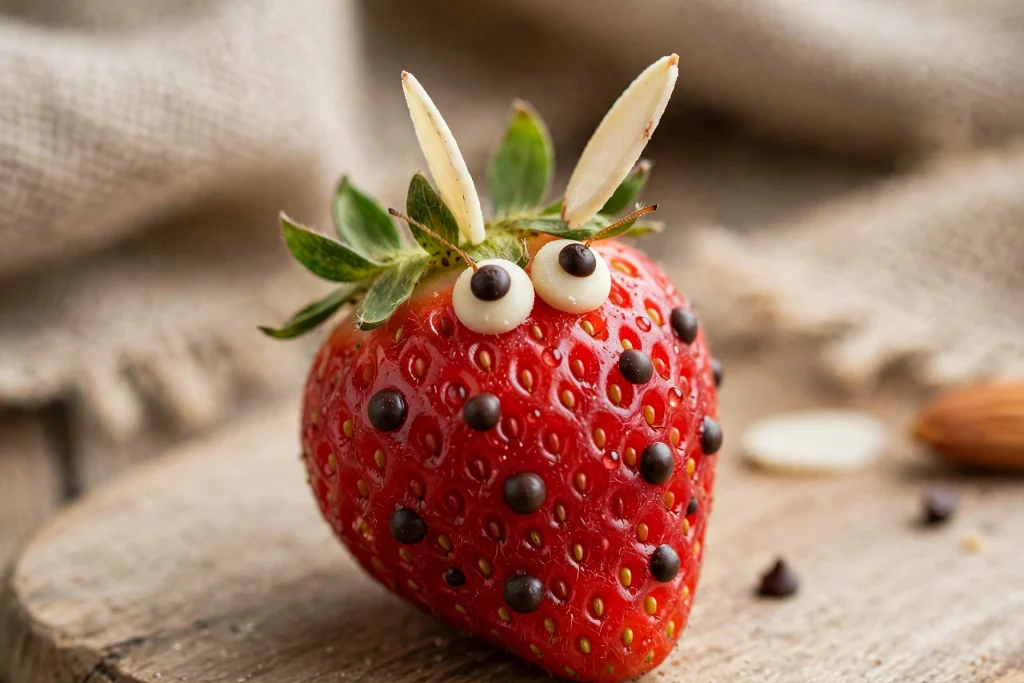
Step 6: Add the antennae. Pipe two tiny antennae at the top of the head. For an alternative, push two thin slivers of sliced almond into the head. Skip the almonds for young children or if there are allergies.
Step 7: Chill to set. Place the tray in the refrigerator for 10 minutes so the chocolate or gel sets firmly.
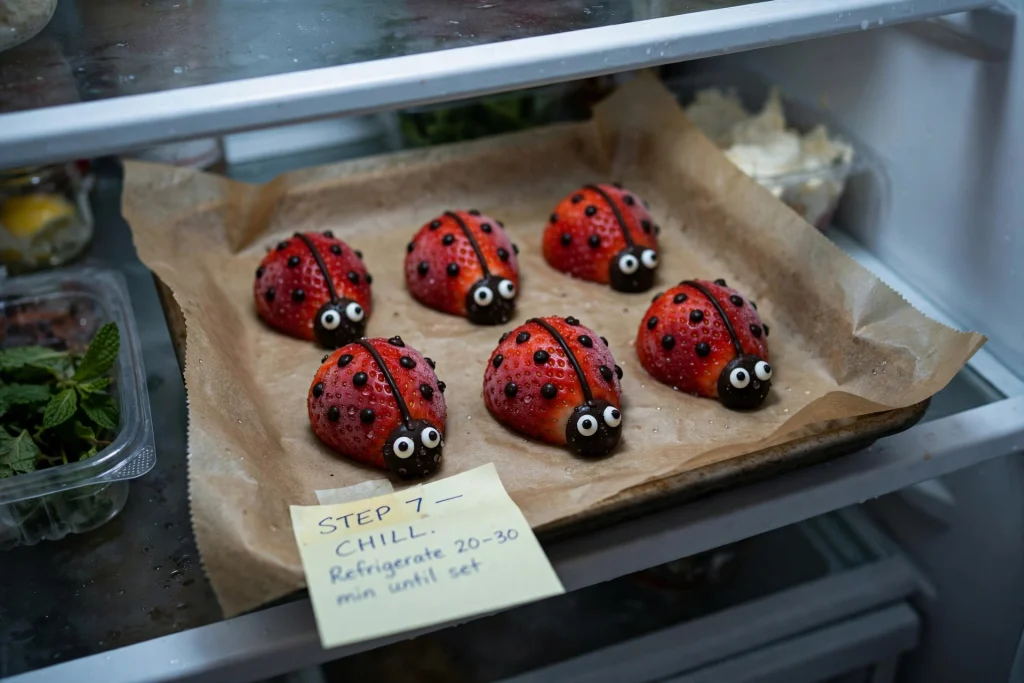
Step 8: Serve. Arrange the ladybugs on a platter and serve chilled.
Step-by-Step Decorating Tips
Dry the fruit well
This is the most important tip. If the strawberries are even slightly damp, the chocolate will slide and the gel will smear.
Pick uniform berries
Choose berries of similar size so the ladybugs look matched on the tray. Fat, heart-shaped berries make the cutest bodies.
Keep the strawberries cold, but not wet
Chilled strawberries help the chocolate set quickly. Wipe off any condensation before decorating.
Use a fine tip
A very small opening gives you thin lines and neat dots. If you don’t have a piping tip, snip the tiniest possible corner off a zip-top bag.
Use a toothpick for precision
If a dot comes out too big, a toothpick helps you shape it or drag chocolate into a neat circle.
Let the head set first
Pipe or dip the head first, then add the eyes while it’s still tacky. This helps the chips stick.
Work in small batches
If you melt chocolate for all 20 berries at once, it can set before you finish. Melt a little at a time or keep the bowl over warm water.
Melted Chocolate vs. Decorating Gel
Melted chocolate
- Better flavor and a glossy finish.
- Sets firm in the fridge.
- Needs gentle melting: use 20 to 30 second bursts in the microwave, stirring between each.
Black decorating gel
- Easy and fast, with no melting.
- Great for small children’s decorating projects.
- Stays slightly soft and can smear if touched.
Many parents combine both: chocolate for the head and gel for the dots. Choose whichever suits your skill level and the time you have.
Party Planning: How Many to Make
Strawberries vary in size, but a general guide is:
- 1 lb of strawberries makes about 16 to 24 ladybugs.
- Small party (8 to 10 kids): 1 lb gives plenty.
- Medium party (15 to 20 kids): 2 lbs.
- Large party (30 kids): 3 to 4 lbs, plus other food.
Plan on 2 ladybugs per child if they are one part of a larger menu.
Fun Ideas for Serving at a Party
- Garden platter. Arrange the ladybugs on a bed of green leaves or fresh mint so they look like they’re crawling through a garden.
- Ladybug tower. Stack them on a tiered tray with other red-and-black snacks.
- Decorating station. Pre-prepare plain strawberries and set out bowls of mini chocolate chips, gel pens and sprinkles. Let kids design their own bugs.
- Individual cups. Place 2 or 3 ladybugs in small cups with a spoonful of yogurt dip.
- Themed table. Pair with red and black napkins, polka-dot plates and flowers.
- Take-home bags. Pack a ladybug in a small treat box with a ribbon as a party favor.
Variations
Chocolate-Dipped Ladybugs. Dip the bottom half of each strawberry in melted milk chocolate for a “shell” effect before adding dots.
White Chocolate Ghosts. Dip strawberries in white chocolate and add mini chocolate chip eyes for ghost strawberries (a great Halloween twist).
Bee Strawberries. Use yellow and black stripes instead of dots.
Strawberry Caterpillars. Line up strawberry halves with chocolate chip eyes on the first berry.
Mini Ladybugs. Use small berries or raspberries for bite-sized bugs.
Nut-free version. Skip the almond antennae and pipe them with chocolate or gel.
Yogurt-dipped version. Dip the strawberries in thick vanilla Greek yogurt and freeze for a cold treat. Add the spots with melted chocolate afterward.
Make-Ahead and Storage Tips
- Make ahead: Decorate the ladybugs up to 4 hours before the party for the best texture. Strawberries release juice over time, so the sooner you serve them, the better.
- Prep earlier: You can wash, dry and hull the berries the day before and keep them in the fridge on paper towels. Melt chocolate and decorate just before the party.
- Storage: Store in a single layer in an airtight container lined with paper towels in the fridge. Eat within 24 hours.
- Do not freeze. Fresh strawberries become soft and watery when thawed.
- Keep chilled. Don’t leave them out in a warm room for more than 2 hours.
Safety and Allergy Notes
- Choking hazards. Whole strawberries, mini chocolate chips and sliced almonds can be a risk for babies and toddlers. For children under 4, cut strawberries into small pieces and leave off the chocolate chip eyes and almond antennae. Use a drawn-on face instead.
- Supervision. Always supervise young children while they eat.
- Allergens. Chocolate may contain milk, soy and traces of nuts. Decorating gel may contain additives or allergens. Check every label and use nut-free chocolate if needed.
- Almonds. Sliced almonds are a tree nut allergen. Skip them for schools and parties with nut restrictions.
- Food safety. Wash strawberries well before preparing.
If you are unsure what is appropriate for your child, check with your pediatrician.
Troubleshooting
The chocolate won’t stick to the strawberries. The berries are probably wet. Dry them thoroughly and let them reach room temperature.
The chocolate seized or turned thick. Water got into the chocolate, or it was overheated. Start again with a clean, dry bowl and melt in short bursts.
The dots are blobby. Your piping tip is too large or you squeezed too hard. Use a smaller opening and lighter pressure, or dab dots with a toothpick.
The eyes fall off. Add them while the head is still wet. If it’s already set, attach them with a tiny dot of melted chocolate.
The strawberries are leaking juice. Decorate closer to serving time and pat berries dry before piping.
The black gel smeared. Chill the strawberries for 10 minutes and avoid touching the dots. Choose melted chocolate for a firmer finish.
Frequently Asked Questions
Can I make these the day before? You can prep the berries the day before, but it’s best to decorate on the day of the party for the freshest look.
What kind of chocolate works best? Dark or semi-sweet chocolate chips work best for the black color. Use candy melts for a deeper black.
Do I need a piping bag? No, but it helps. A zip-top bag with a tiny snipped corner works well.
Can I use frozen strawberries? No. Frozen strawberries are too wet and soft for decorating.
Can kids do this themselves? Yes. Children from about age 4 can add chocolate chip eyes and dots with help from an adult. Adults should handle melted chocolate.
How do I make a vegan version? Use dairy-free chocolate chips and a vegan decorating gel.
What can I use if I don’t have mini chocolate chips? Use tiny dots of black gel for the eyes, or white icing dots with black pupils.
Final Thoughts
Adorable Ladybug Strawberries turn simple fruit into a showstopping party treat. They’re fresh, easy and endlessly cute, and they give children a creative way to enjoy fruit. Wash your berries, dry them well, grab a piping bag and make a tray of little ladybugs that will disappear before the party games are over.