Store-bought snack bars are convenient, but the ingredient lists are often long, and many are packed with added sugar. Making your own is easier than most parents expect. These four no-bake bars need only a bowl, a spoon and a pan. There’s no oven and no complicated steps, and kids can help mix, press and decorate.
Each recipe below is built around simple ingredients like oats, nut butter, bananas, apples and Greek yogurt. Together they give children a good mix of protein, fiber and natural sweetness, which makes them a great fit for after-school snacks, lunchboxes and busy mornings.
The four recipes are Peanut Power Bars, Choco Banana Buddy Bars, Apple Cinnamon Kid Bars and Berry Yogurt Blast Bars. You’ll also find storage tips, safety notes and answers to common questions.
Why Make No-Bake Protein Bars at Home?
- No oven needed. Great for hot days and for cooking with young children.
- Simple ingredients. You know exactly what goes in.
- Protein to keep kids full. Nut butter, oats, yogurt and seeds all add protein.
- Less added sugar. Fruit and small amounts of honey do the sweetening.
- Freezer-friendly. Make a batch once and have snacks for weeks.
- Kid-approved. Bars are easy to hold, easy to pack and fun to cut into shapes.
A Note on Protein Numbers
The protein amounts listed below are approximate estimates per bar, based on typical ingredients and portion sizes. They will vary depending on the brands you use and how you cut the bars. If you need exact nutrition information, use the labels on your ingredients or a nutrition calculator.
Kitchen Basics for All the Recipes
- Line an 8-inch (20 cm) square pan with parchment paper, leaving extra paper hanging over the sides so you can lift the bars out.
- Use old-fashioned rolled oats for the best chewy texture.
- Press the mixture firmly into the pan. Packing it tightly is the secret to bars that hold together.
- Chill before cutting. Cold bars slice cleanly.
- Cut each pan into 12 bars for kid-sized portions.
1. Peanut Power Bars
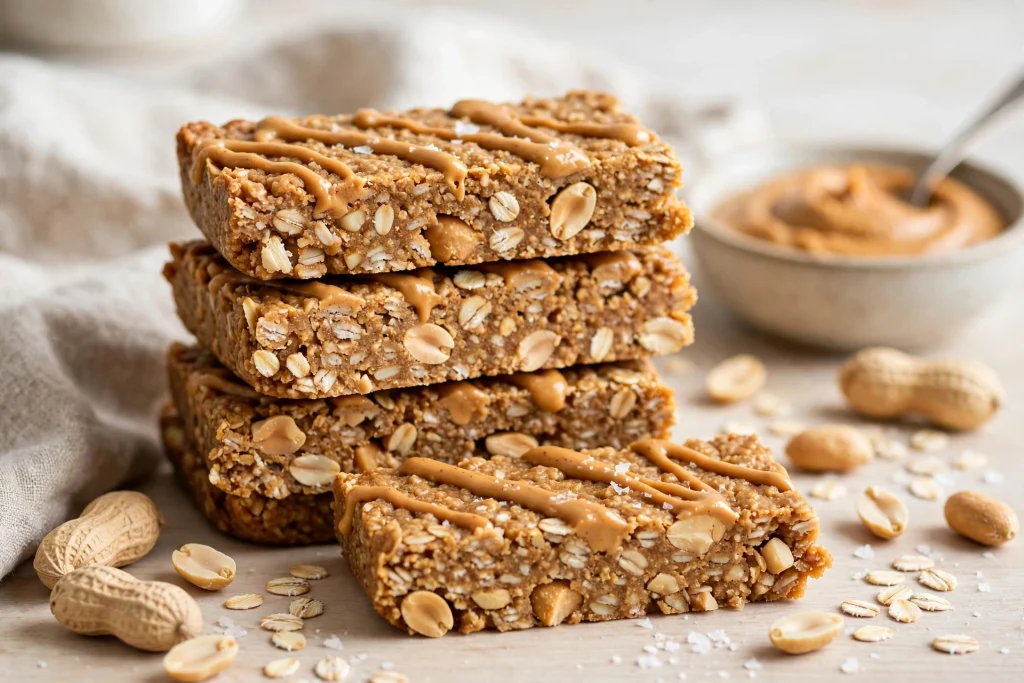
Protein: about 8 g per bar | Prep time: 10 minutes | Chill time: 1 hour | Yield: 12 bars
These are chewy, nutty and the kind of bar kids ask for again. Crunchy peanuts add texture and extra protein, which makes them a lunchbox favorite.
Ingredients
- 1 cup natural peanut butter
- 2 cups rolled oats
- 3 tablespoons honey
- 1 teaspoon vanilla extract
- ¼ cup chopped peanuts (optional, for older children)
- Pinch of sea salt
Instructions
- Line an 8-inch pan with parchment paper.
- Warm the peanut butter and honey in a small pot or in the microwave for 20 to 30 seconds until pourable.
- Stir in the vanilla and salt.
- Add the oats and chopped peanuts and mix until everything is coated.
- Press the mixture very firmly into the pan.
- Refrigerate for at least 1 hour, then lift out and cut into 12 bars.
Tip: For a smoother bar for younger kids, skip the chopped peanuts.
Allergy note: This recipe contains peanuts. For nut-free schools, swap in sunflower seed butter and omit the peanuts.
2. Choco Banana Buddy Bars
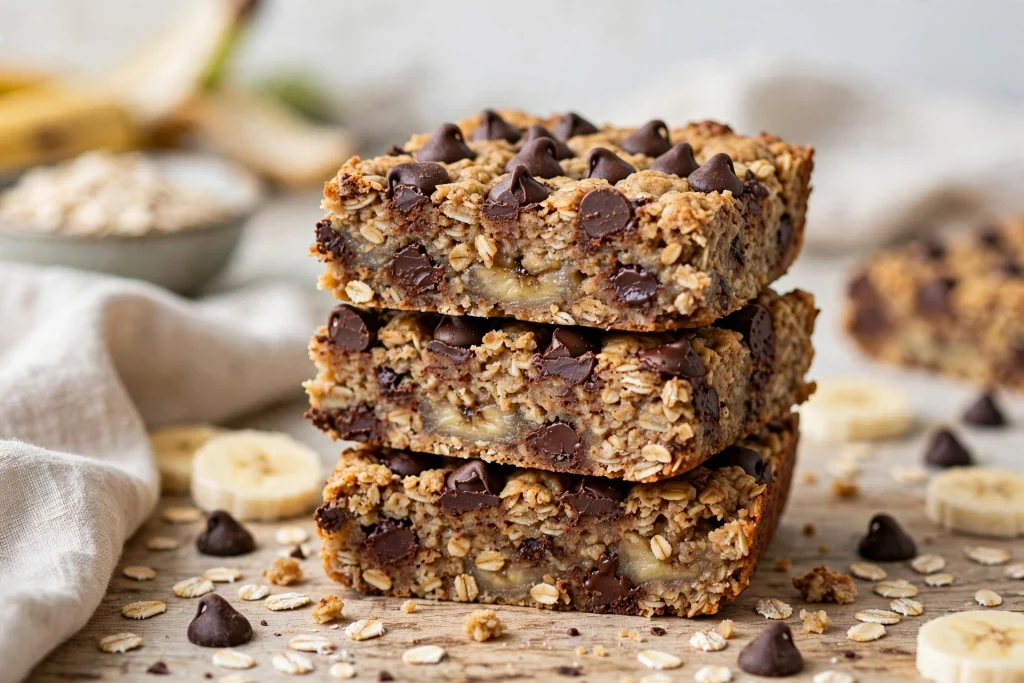
Protein: about 6 g per bar | Prep time: 10 minutes | Chill time: 1 to 2 hours | Yield: 12 bars
Sweet, chocolaty and made with a base of mashed banana. There’s no refined sugar in the bar itself, since the banana does the sweetening. It’s an easy after-school snack that feels like a treat.
Ingredients
- 2 ripe bananas, mashed
- 1½ cups rolled oats
- ¼ cup unsweetened cocoa powder
- 2 tablespoons chia seeds
- ¼ cup almond butter or sunflower seed butter
- 1 teaspoon vanilla extract
- Extra banana slices for decoration
- Optional: 2 tablespoons melted dark chocolate for drizzling
Instructions
- Line an 8-inch pan with parchment paper.
- In a large bowl, mash the bananas until smooth. Stir in the nut butter and vanilla.
- Add the cocoa powder, chia seeds and oats. Mix well.
- Let the mixture rest for 5 minutes so the chia seeds and oats absorb moisture.
- Press firmly into the pan and smooth the top.
- If you like, drizzle with melted dark chocolate and add banana slices on top just before serving.
- Refrigerate for 1 to 2 hours until firm, then cut into bars.
Tip: The riper the banana, the sweeter the bar. Choose bananas with brown spots.
Note: Fresh banana slices brown quickly, so add them right before serving.
3. Apple Cinnamon Kid Bars
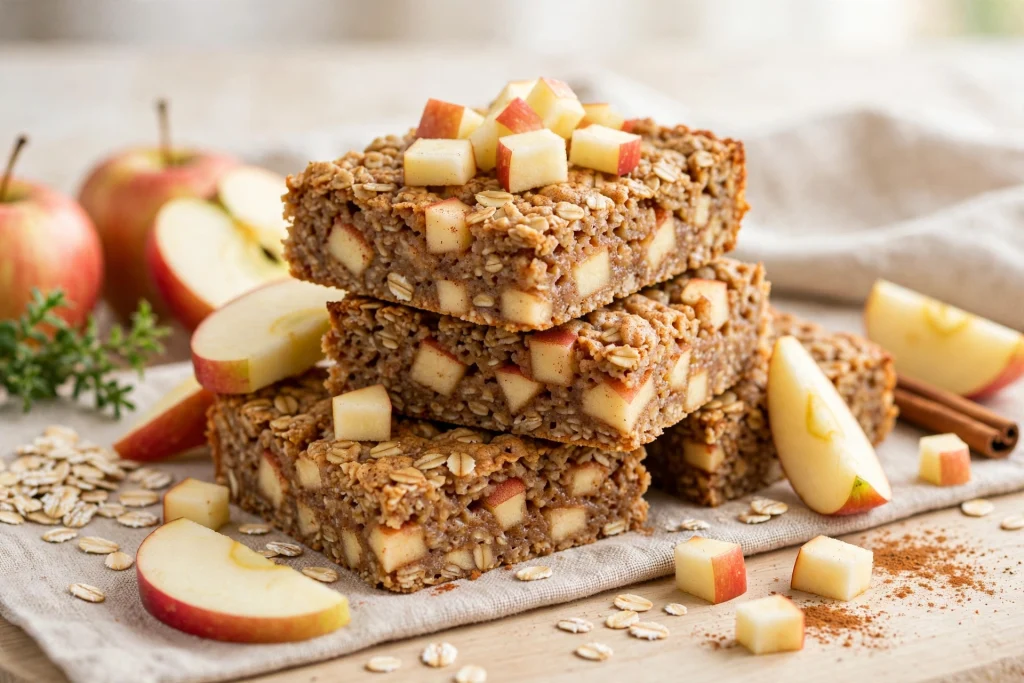
Protein: about 5 g per bar | Prep time: 15 minutes | Chill time: 1 hour | Yield: 12 bars
Warm cinnamon flavor with little bites of apple. These are a great pick for picky eaters, since the flavor is mild and familiar.
Ingredients
- 1 medium apple, finely diced (peeled if you like)
- 2 cups rolled oats
- ½ cup plain Greek yogurt
- ¼ cup nut or seed butter
- 2 tablespoons honey or maple syrup
- 1½ teaspoons cinnamon
- 1 tablespoon chia seeds or ground flaxseed
Instructions
- Line an 8-inch pan with parchment paper.
- In a bowl, stir together the nut butter, honey and yogurt until smooth.
- Add the cinnamon and chia seeds and stir.
- Fold in the oats and diced apple until fully combined.
- Press the mixture firmly into the pan.
- Sprinkle a little extra cinnamon on top.
- Chill for at least 1 hour, then cut into bars.
Tip: Dice the apple small, about the size of a pea, so the bars hold together and are easy for little mouths to chew.
Storage note: These contain yogurt and fresh fruit, so keep them refrigerated.
4. Berry Yogurt Blast Bars
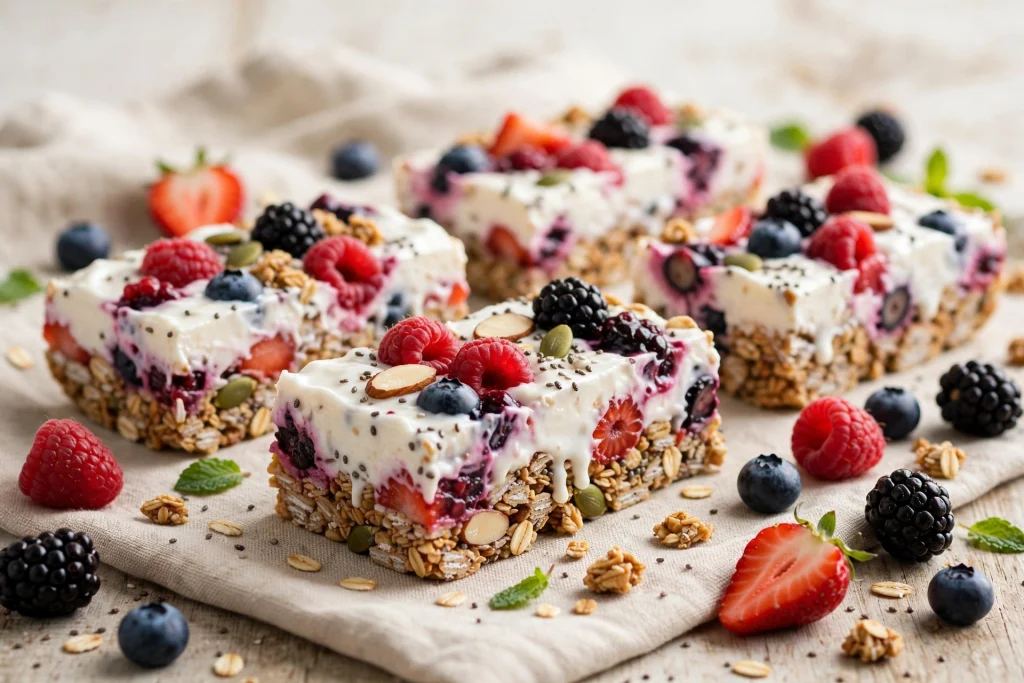
Protein: about 7 g per bar | Prep time: 15 minutes | Freeze time: 3 hours | Yield: 12 bars
Creamy, fruity and pink, these look like a dessert but are made with Greek yogurt and mixed berries. They are meant to be kept in the freezer, like a frozen treat you can eat with your hands.
Ingredients
For the oat base:
- 1½ cups rolled oats
- ¼ cup nut or seed butter
- 2 tablespoons honey
- 1 tablespoon coconut oil, melted
For the yogurt layer:
- 1½ cups plain Greek yogurt
- 1 cup mixed berries (fresh or frozen), lightly mashed
- 1 to 2 tablespoons honey, to taste
Instructions
- Line an 8-inch pan with parchment paper.
- Mix the oats, nut butter, honey and coconut oil for the base. Press it firmly into the bottom of the pan.
- In another bowl, stir together the Greek yogurt, mashed berries and honey until smooth.
- Spread the yogurt mixture evenly over the base.
- Top with a few whole berries and, if you like, a thin drizzle of extra yogurt.
- Freeze for at least 3 hours, until firm.
- Lift out, cut into bars and serve after letting them sit for 5 minutes.
Tip: Freeze the bars individually on a tray for 30 minutes, then wrap and store them together so they don’t stick.
Important: These bars are yogurt-based, so keep them in the freezer until close to serving time. They are not for lunchboxes without an ice pack.
Quick Comparison
- Most protein: Peanut Power Bars and Berry Yogurt Blast Bars.
- Most chocolatey: Choco Banana Buddy Bars.
- Best for picky eaters: Apple Cinnamon Kid Bars.
- Best for lunchboxes: Peanut Power Bars (with an ice pack in warm weather).
- Best freezer treat: Berry Yogurt Blast Bars.
Storage Guide
- Refrigerator: Store bars in an airtight container for up to 5 days. Separate layers with parchment paper.
- Freezer: Wrap bars individually and freeze for up to 1 month. Thaw in the fridge overnight or for 10 to 15 minutes at room temperature.
- Berry Yogurt Blast Bars: Store in the freezer only.
- Lunchboxes: Pack with an ice pack, especially for bars with yogurt or banana.
Tips for Perfect Bars
- Press hard. Use the bottom of a measuring cup or a piece of parchment paper to compress the mixture.
- Let the mixture rest. Oats and chia seeds need a few minutes to absorb liquid.
- Adjust the texture. If the mixture is crumbly, add a spoonful of nut butter or yogurt. If it’s too wet, add a few more oats.
- Use natural nut butter. Stir it well before measuring, since the oil separates.
- Cut with a sharp knife. Wipe the blade between cuts.
- Use cookie cutters. Fun shapes make bars more appealing for younger kids.
Easy Swaps and Add-Ins
- Nut-free: Use sunflower seed butter or tahini.
- Dairy-free: Use a thick dairy-free yogurt in the apple and berry bars.
- Sweeteners: Swap honey for maple syrup or date paste. (See the honey warning below.)
- Mix-ins for older kids: Mini chocolate chips, chopped dried fruit, shredded coconut or pumpkin seeds.
- Extra protein: A scoop of unflavored or vanilla protein powder can go into the peanut or banana bars, but check with your pediatrician before adding protein powder to a child’s diet.
How Kids Can Help
No-bake recipes are perfect for little chefs.
- Toddlers (with close supervision): stir oats, mash bananas, sprinkle toppings.
- Preschoolers: measure ingredients, press the mixture into the pan, choose cookie cutter shapes.
- School-age kids: read the recipe, dice soft fruit with a child-safe knife, and drizzle chocolate.
Adults should handle any hot pots, the microwave and sharp knives.
Safety and Allergy Notes
- Honey: Never give honey to children under 12 months. Use mashed banana or a small amount of maple syrup for younger children, and ask your pediatrician.
- Peanuts and tree nuts: These are common allergens. Check school policies and use seed butter when needed.
- Choking hazards: Whole peanuts, chunks of apple and whole berries can be risky for young children. Chop, mash or leave them out, and always supervise.
- Dairy and other allergens: Check labels on yogurt, chocolate and oats. Oats can be cross-contaminated with gluten if not labeled gluten-free.
- Protein needs: Most children get enough protein from a normal balanced diet. These bars are a snack, not a replacement for meals.
If you are unsure what is appropriate for your child’s age or needs, check with your pediatrician.
Frequently Asked Questions
Can I make these bars without honey? Yes. Maple syrup, date paste or mashed banana work in most of the recipes.
Why are my bars falling apart? The mixture may be too dry or not pressed hard enough. Add a spoonful of nut butter or yogurt, press firmly, and chill until fully set.
Can I use quick oats? Yes, but the bars will be softer and less chewy.
Do I have to freeze the yogurt bars? Yes. The yogurt layer only firms up when frozen, and the bars should stay cold.
How many bars should a child eat? One bar is a good snack-sized portion for most children.
Are these gluten-free? They can be if you use certified gluten-free oats.
Can I double the recipes? Yes. Use a 9×13-inch pan for a double batch.
Final Thoughts
Homemade no-bake protein bars are quick, flexible and easy to fit into a busy week. Whether your child loves the nutty crunch of Peanut Power Bars, the chocolate-banana flavor of the Choco Banana Buddy Bars, the warm spice of the Apple Cinnamon Kid Bars or the fruity freeze of the Berry Yogurt Blast Bars, there’s a version that will work for your family. Pick one, gather your oats and get your kids in the kitchen for a simple, hands-on snack project.