These no-bake and raw desserts are built around whole-food ingredients, natural fats, and sugar-free sweeteners so you can enjoy something sweet without the blood sugar spike that comes with traditional cakes, cookies, and pastries. Each recipe includes ingredients, method, why it fits a diabetes-friendly diet, approximate nutrition, and how to store it.
In this guide:
- Raw Vegan Date Cheesecake
- Avocado Cacao Mousse Cups
- Coconut Panna Cotta with Berry Coulis
- Raw Cacao and Date Truffles
- Mango Chia Seed Pudding Parfait
- Lemon-Blueberry Cashew Tartlet
- Banana and Strawberry Nice Cream
- No-Bake Peanut Butter Protein Bites
- Sugar-Free Carrot Cake Muffin
1. Raw Vegan Date Cheesecake
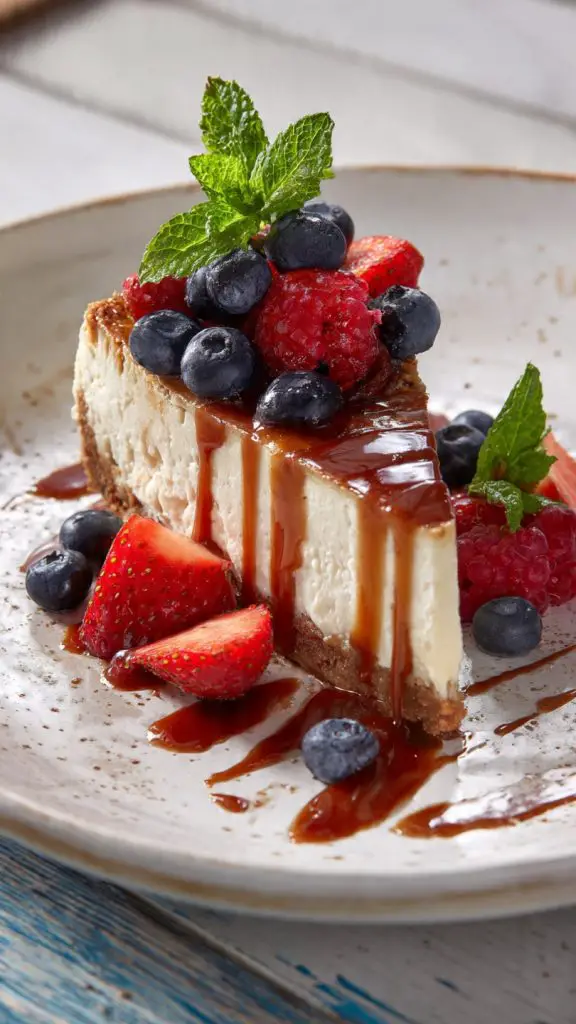
Prep Time20 minutesServings8Carbs per Serving~12g
Ingredients
- Crust: 1 cup raw almonds, 6 Medjool dates (pitted), pinch of salt
- Filling: 2 cups raw cashews (soaked 4+ hours), 1/3 cup lemon juice, 1/3 cup melted coconut oil, 1/4 cup unsweetened almond milk, 3-4 tablespoons powdered erythritol, 1 teaspoon vanilla extract, pinch of salt
How to Make It
- Pulse the almonds, dates, and salt in a food processor until the mixture sticks together when pressed.
- Press the crust mixture firmly into the bottom of a lined 6-inch springform pan or muffin tin.
- Drain the soaked cashews and blend with lemon juice, coconut oil, almond milk, sweetener, vanilla, and salt until completely smooth.
- Pour the filling over the crust and smooth the top with a spatula.
- Freeze for at least 4 hours, or until firm enough to slice cleanly.
- Let sit at room temperature for 5-10 minutes before slicing and serving.
Why This Is a Diabetic-Friendly Recipe
This cheesecake swaps a sugar-and-cream-cheese filling for blended cashews and healthy fats, using dates in the crust only in a small, controlled amount for natural binding rather than large quantities of refined sugar. The nuts contribute protein, fiber, and unsaturated fat, all of which slow digestion and reduce the overall glycemic impact compared to a traditional baked cheesecake.
Nutrition (Per Serving)
| Nutrient | Amount |
|---|---|
| Calories | ~230 kcal |
| Carbohydrates | 12g |
| Fiber | 2g |
| Sugar | 5g (natural, from dates) |
| Fat | 19g |
How to Store / Freeze
Store in the freezer in an airtight container for up to 1 month, as this cheesecake is meant to stay chilled or frozen to hold its shape. Refrigerated leftovers keep for up to 5 days but will be softer in texture. Slice before freezing so individual portions can be pulled out and thawed at room temperature for 10 minutes before serving.
2. Avocado Cacao Mousse Cups
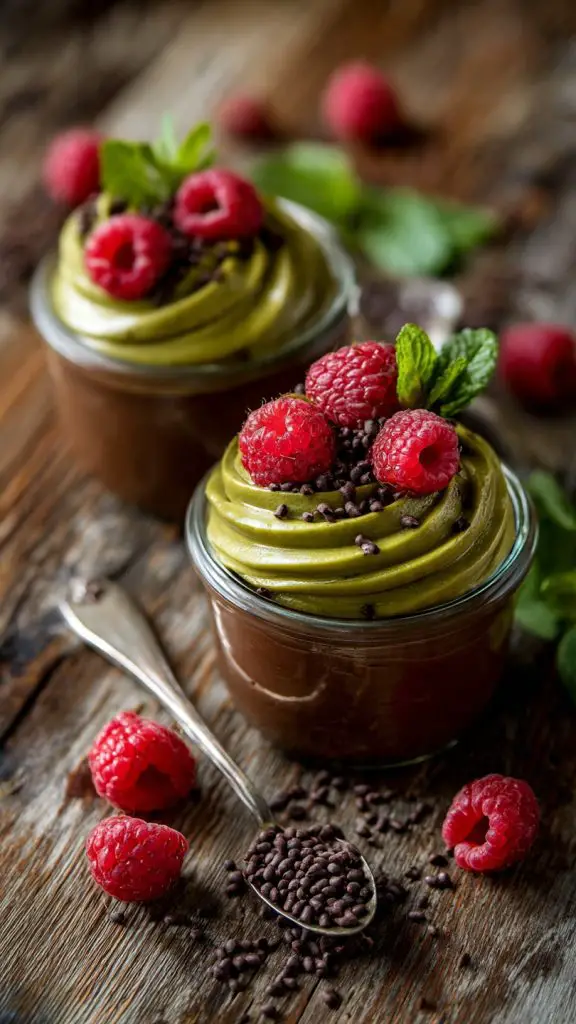
Prep Time10 minutesServings4Carbs per Serving~9g
Ingredients
- 2 ripe avocados
- 1/3 cup raw cacao powder
- 1/4 cup unsweetened almond milk
- 1/4 cup powdered erythritol or monk fruit sweetener
- 1 teaspoon vanilla extract
- Pinch of salt
- Optional topping: cacao nibs or fresh raspberries
How to Make It
- Scoop the avocado flesh into a blender or food processor.
- Add the cacao powder, almond milk, sweetener, vanilla, and salt.
- Blend until completely smooth, scraping down the sides as needed.
- Spoon the mousse into small cups or ramekins.
- Chill for 15-20 minutes for a firmer set, or serve immediately at room temperature.
- Top with cacao nibs or fresh raspberries just before serving.
Why This Is a Diabetic-Friendly Recipe
Avocado replaces cream and sugar with fiber-rich, healthy monounsaturated fat, producing a naturally rich texture without spiking blood glucose. Raw cacao adds antioxidant flavanols and deep chocolate flavor with no added sugar, and the sugar-free sweetener keeps the total carbohydrate count low while still delivering a genuinely sweet, dessert-like experience.
Nutrition (Per Serving)
| Nutrient | Amount |
|---|---|
| Calories | ~190 kcal |
| Carbohydrates | 9g |
| Fiber | 7g |
| Net Carbs | 2g |
| Fat | 15g |
How to Store / Freeze
Refrigerate in sealed cups for up to 3 days, pressing plastic wrap onto the surface to reduce browning. Freezing is not recommended, since avocado’s texture turns watery once thawed and the mousse will lose its smooth consistency.
3. Coconut Panna Cotta with Berry Coulis
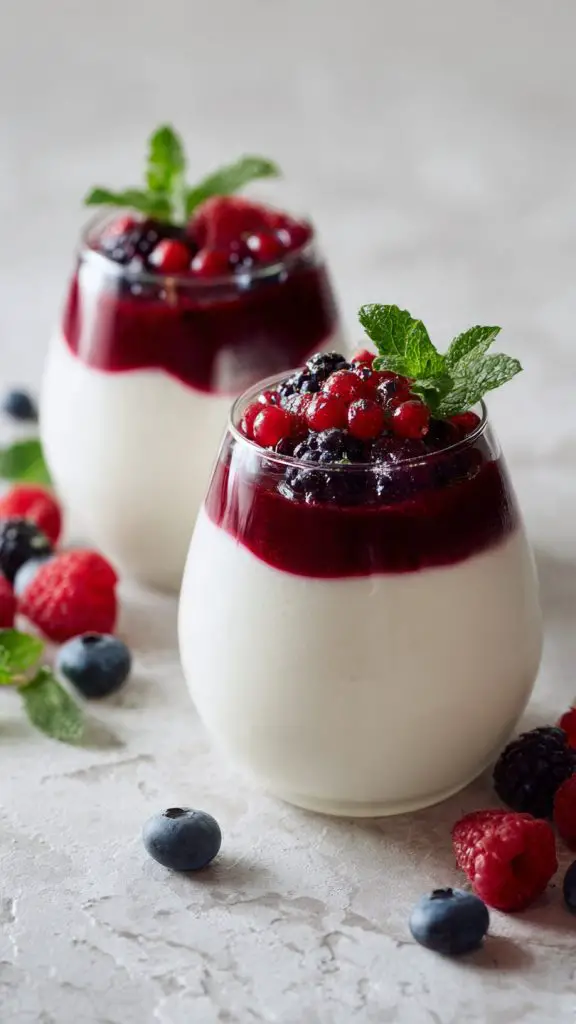
Prep Time10 minutes (plus chilling)Servings4Carbs per Serving~7g
Ingredients
- Panna cotta: 1 3/4 cups full-fat coconut milk, 2 teaspoons unflavored gelatin, 2-3 tablespoons powdered erythritol, 1 teaspoon vanilla extract, pinch of salt
- Berry coulis: 1 cup fresh or frozen mixed berries, 1 tablespoon water, 1 tablespoon sweetener (optional), squeeze of lemon juice
How to Make It
- Pour 1/4 cup of the coconut milk into a small bowl and sprinkle the gelatin over it. Let it bloom for 5 minutes.
- Warm the remaining coconut milk in a saucepan over medium-low heat with the sweetener and salt, stirring until dissolved, but do not boil.
- Whisk the bloomed gelatin mixture into the warm coconut milk until fully dissolved, then stir in the vanilla extract.
- Divide the mixture into 4 small ramekins or glasses and refrigerate for at least 3-4 hours until set.
- For the coulis, simmer the berries with water and lemon juice for 5-7 minutes until softened, then mash or blend until smooth.
- Let the coulis cool, then spoon over the set panna cotta before serving.
Why This Is a Diabetic-Friendly Recipe
This dessert replaces the sugar-heavy cream base of classic panna cotta with coconut milk and a sugar-free sweetener, while the berry topping uses whole fruit instead of a sugary syrup. Berries are naturally lower on the glycemic index than most fruits and contribute fiber and antioxidants, making the coulis a controlled, modest source of natural sweetness rather than a concentrated sugar hit.
Nutrition (Per Serving)
| Nutrient | Amount |
|---|---|
| Calories | ~160 kcal |
| Carbohydrates | 7g |
| Fiber | 1.5g |
| Sugar | 3g (natural, from berries) |
| Fat | 14g |
How to Store / Freeze
Refrigerate the finished panna cotta, covered, for up to 4 days. Freezing is not recommended, as the gelatin-set texture becomes grainy and separates after thawing. The berry coulis on its own can be frozen separately in a small container for up to 2 months and thawed in the fridge before spooning over a fresh batch.
4. Raw Cacao and Date Truffles
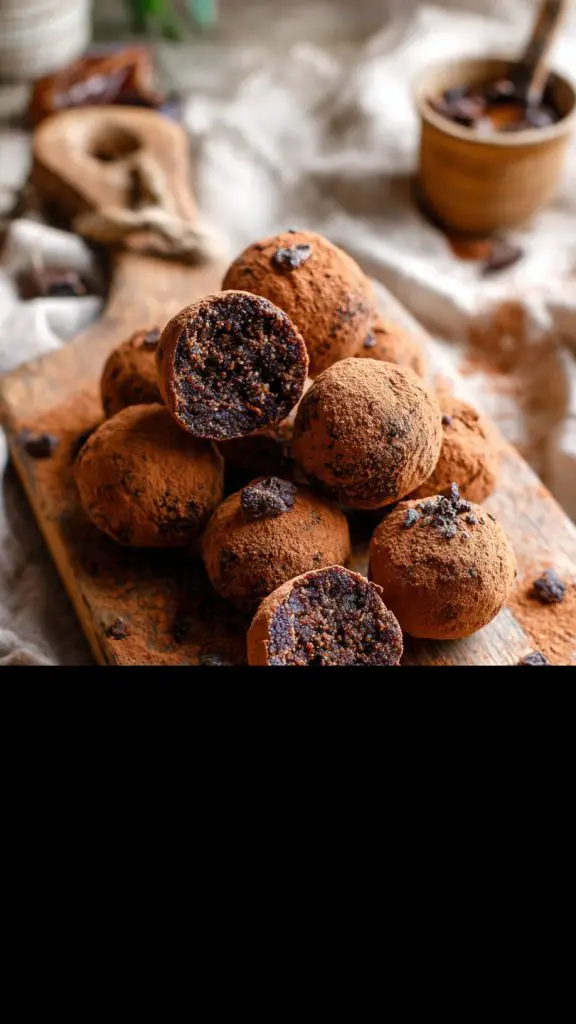
Prep Time15 minutesServings12 trufflesCarbs per Serving~6g
Ingredients
- 1 cup pitted Medjool dates
- 1 cup raw walnuts or almonds
- 3 tablespoons raw cacao powder, plus extra for coating
- 1 tablespoon coconut oil, melted
- Pinch of salt
- 1/2 teaspoon vanilla extract
How to Make It
- Add the nuts to a food processor and pulse until finely chopped.
- Add the dates, cacao powder, coconut oil, salt, and vanilla extract.
- Process until the mixture forms a sticky, dough-like texture that holds together when pressed.
- Roll the mixture into 12 small balls using your hands.
- Roll each truffle in extra cacao powder to coat.
- Chill in the refrigerator for at least 20 minutes to firm up before serving.
Why This Is a Diabetic-Friendly Recipe
Because dates are used as the only sweetener and are balanced with a generous amount of nuts, the natural sugar in the dates is diluted with fiber, protein, and healthy fat, which slows its absorption compared to eating dates alone or a truffle made with refined sugar and chocolate. Portion control matters here, but as an occasional treat, each truffle delivers satisfying sweetness in a small, nutrient-dense bite.
Nutrition (Per Truffle)
| Nutrient | Amount |
|---|---|
| Calories | ~90 kcal |
| Carbohydrates | 6g |
| Fiber | 1.5g |
| Sugar | 4g (natural, from dates) |
| Fat | 7g |
How to Store / Freeze
Store in an airtight container in the refrigerator for up to 2 weeks. These truffles also freeze very well; place them in a single layer on a tray to freeze first, then transfer to a freezer bag or container for up to 3 months. Thaw at room temperature for a few minutes before eating.
5. Mango Chia Seed Pudding Parfait
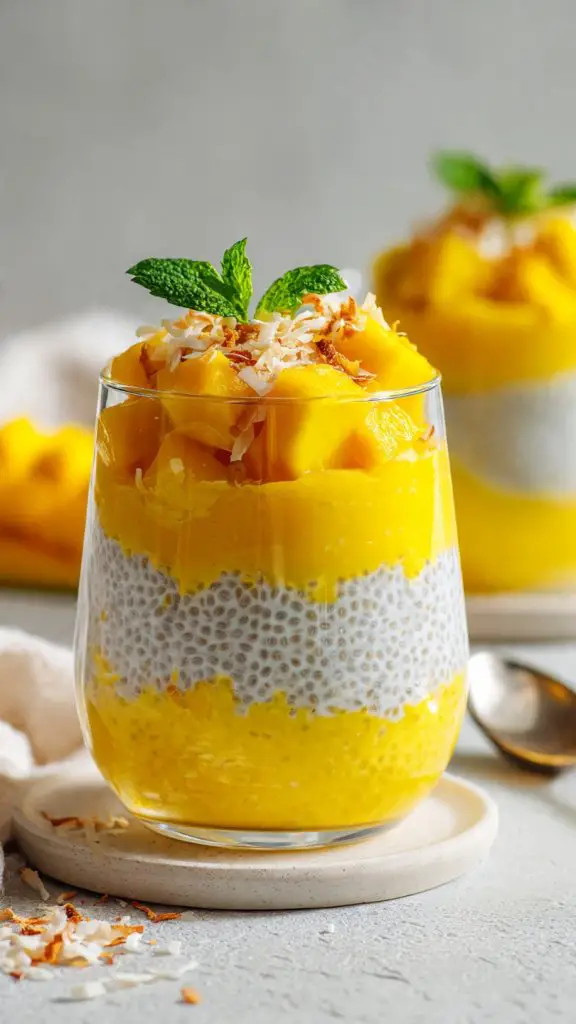
Prep Time10 minutes (plus chilling)Servings2Carbs per Serving~13g
Ingredients
- 1/4 cup chia seeds
- 1 cup unsweetened coconut milk or almond milk
- 1 teaspoon vanilla extract
- 1-2 tablespoons powdered erythritol (optional, to taste)
- 1/2 cup fresh mango, diced small (or a low-sugar mango substitute like diced kiwi for a lower-carb version)
- 2 tablespoons unsweetened coconut flakes, toasted (optional, for layering)
How to Make It
- Whisk together the chia seeds, milk, vanilla, and sweetener in a bowl or jar.
- Let sit for 5 minutes, then whisk again to prevent clumping.
- Cover and refrigerate for at least 2 hours, or overnight, until thickened into a pudding consistency.
- Once thickened, layer the chia pudding and diced mango in a glass, alternating layers for a parfait effect.
- Top with toasted coconut flakes just before serving.
Why This Is a Diabetic-Friendly Recipe
The bulk of this parfait’s carbohydrates come from fiber-rich chia seeds rather than sugar, and the small portion of mango is used more as a flavor accent layered throughout rather than blended into a large, concentrated fruit puree. This keeps the natural fruit sugar modest while still delivering the tropical flavor mango is known for, and the fiber from the chia helps moderate the impact of the mango’s natural sugars on blood glucose.
Nutrition (Per Serving)
| Nutrient | Amount |
|---|---|
| Calories | ~170 kcal |
| Carbohydrates | 13g |
| Fiber | 9g |
| Net Carbs | 4g |
| Sugar | 5g (natural, from mango) |
How to Store / Freeze
Store the plain chia pudding (without mango layered in) in a sealed container in the fridge for up to 5 days, and add fresh mango just before serving to prevent excess liquid from softening the fruit. Freezing is not recommended, as both the chia pudding and mango become watery and lose their texture once thawed.
6. Lemon-Blueberry Cashew Tartlet
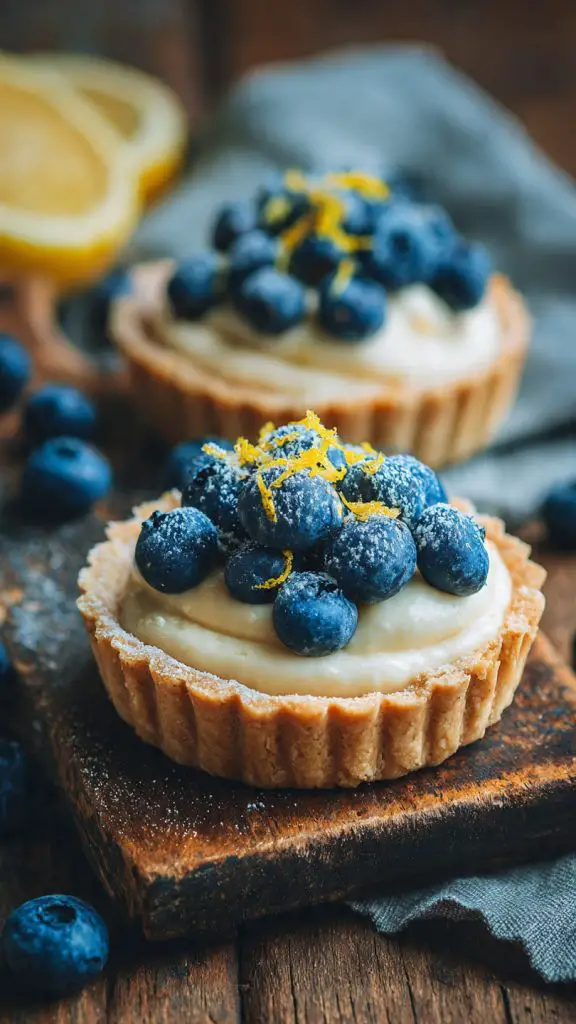
Prep Time20 minutes (plus freezing)Servings6 tartletsCarbs per Serving~11g
Ingredients
- Crust: 1 cup almonds, 1/2 cup unsweetened shredded coconut, 4 Medjool dates (pitted), pinch of salt
- Filling: 1 1/2 cups raw cashews (soaked 4+ hours), 1/4 cup lemon juice, zest of 1 lemon, 1/4 cup melted coconut oil, 3 tablespoons powdered erythritol, 1/4 cup unsweetened almond milk
- Topping: 1/2 cup fresh blueberries
How to Make It
- Pulse the almonds, coconut, dates, and salt in a food processor until the mixture holds together when pressed.
- Press the crust mixture evenly into 6 mini tartlet molds or a lined muffin tin.
- Drain the soaked cashews and blend with lemon juice, lemon zest, coconut oil, sweetener, and almond milk until silky smooth.
- Spoon the lemon filling over each crust and smooth the tops.
- Freeze for at least 3-4 hours until firm.
- Top each tartlet with fresh blueberries just before serving, and let sit for a few minutes at room temperature to soften slightly.
Why This Is a Diabetic-Friendly Recipe
Like the raw cheesecake, this tartlet uses cashews and healthy fats for its creamy texture instead of sugar, butter, and refined flour. Fresh lemon juice and zest provide bright flavor with essentially no carbohydrates, and blueberries — one of the lower-glycemic fruits — are used sparingly as a topping rather than baked throughout, keeping the overall sugar content of each tartlet modest.
Nutrition (Per Tartlet)
| Nutrient | Amount |
|---|---|
| Calories | ~220 kcal |
| Carbohydrates | 11g |
| Fiber | 2g |
| Sugar | 4g (natural, from dates and berries) |
| Fat | 18g |
How to Store / Freeze
Keep the tartlets frozen in an airtight container for up to 1 month, as they hold their shape best cold. Thaw for 10-15 minutes at room temperature before serving. Refrigerated leftovers (without blueberry topping added) keep for up to 5 days but will be softer than the frozen version.
7. Banana and Strawberry Nice Cream
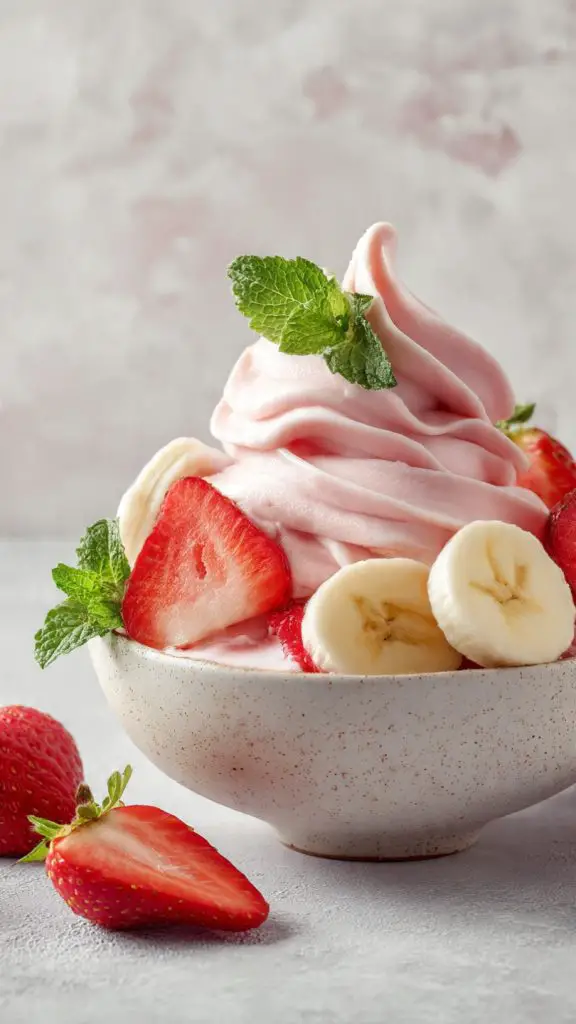
Prep Time5 minutes (plus pre-freezing fruit)Servings2Carbs per Serving~19g
Ingredients
- 1 large ripe banana, sliced and frozen
- 1 cup frozen strawberries
- 2-3 tablespoons unsweetened almond milk (as needed for blending)
- 1/2 teaspoon vanilla extract (optional)
- Optional topping: a few chopped nuts or cacao nibs
How to Make It
- Add the frozen banana slices and frozen strawberries to a food processor or high-powered blender.
- Blend on low, stopping to scrape down the sides, until the mixture starts to break down.
- Add the almond milk a tablespoon at a time as needed to help the mixture blend smoothly.
- Continue blending until the texture becomes thick and creamy, similar to soft-serve ice cream.
- Add vanilla extract if using and blend briefly to combine.
- Serve immediately for a soft-serve texture, or transfer to a container and freeze for 30 minutes for a firmer scoopable texture.
Why This Is a Diabetic-Friendly Recipe
While banana does contain natural sugar, this recipe uses whole fruit with its intact fiber rather than juice or puree with added sugar, which slows the rate at which that sugar is absorbed compared to a conventional ice cream loaded with refined sugar, cream, and stabilizers. Portion size matters most here — a modest serving provides genuine dessert satisfaction with no added sugar, dairy, or artificial ingredients, making it a better-balanced option than traditional ice cream, though those tightly managing carbohydrate intake may want a smaller portion.
Nutrition (Per Serving)
| Nutrient | Amount |
|---|---|
| Calories | ~85 kcal |
| Carbohydrates | 19g |
| Fiber | 3g |
| Sugar | 12g (natural, from fruit) |
| Fat | 0.5g |
How to Store / Freeze
Nice cream is best enjoyed fresh, as it has the smoothest texture right after blending. Leftovers can be frozen in an airtight container for up to 1 week, but will freeze quite hard — let it sit at room temperature for 10-15 minutes before scooping again, or re-blend briefly to restore a creamy texture.
8. No-Bake Peanut Butter Protein Bites
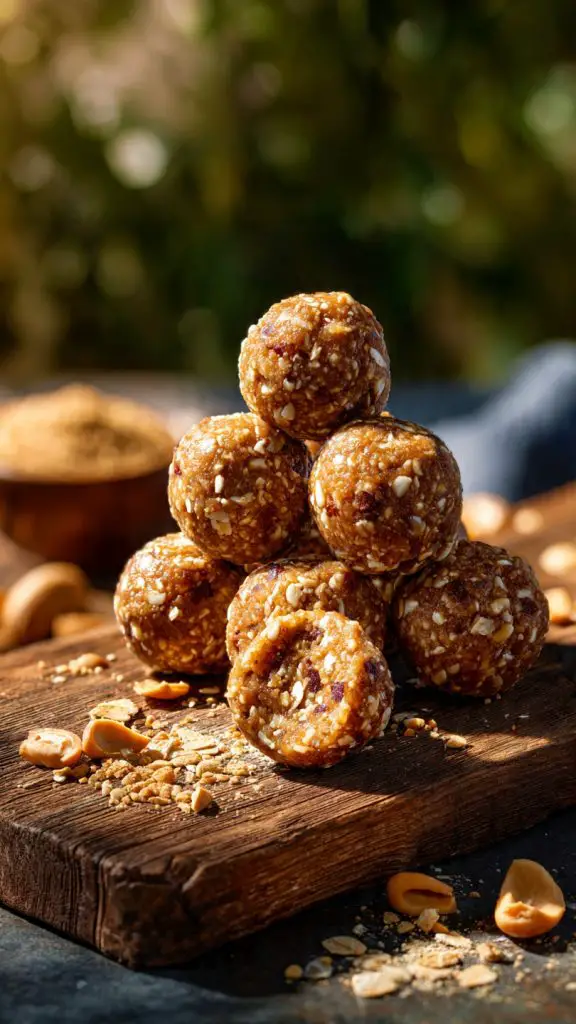
Prep Time10 minutesServings12 bitesCarbs per Serving~4g
Ingredients
- 1 cup natural peanut butter (no added sugar)
- 1/2 cup unflavored or vanilla protein powder
- 2-3 tablespoons unsweetened almond milk (as needed)
- 2 tablespoons powdered erythritol (optional, to taste)
- 1/4 teaspoon salt
- 2 tablespoons mini sugar-free chocolate chips or chopped nuts (optional, for texture)
How to Make It
- In a mixing bowl, combine the peanut butter, protein powder, sweetener, and salt.
- Mix well, adding almond milk a tablespoon at a time until the dough comes together and is moldable but not sticky.
- Fold in the sugar-free chocolate chips or chopped nuts if using.
- Roll the mixture into 12 small balls using your hands.
- Place the bites on a lined tray and refrigerate for at least 20 minutes to firm up.
- Store chilled until ready to eat.
Why This Is a Diabetic-Friendly Recipe
These bites lean on protein and healthy fat from peanut butter and protein powder rather than sugar and flour, resulting in a very low total carbohydrate count per bite. The added protein also supports satiety, helping to curb further snacking, while the natural peanut butter and sugar-free sweetener keep the recipe free of refined sugar entirely.
Nutrition (Per Bite)
| Nutrient | Amount |
|---|---|
| Calories | ~95 kcal |
| Carbohydrates | 4g |
| Fiber | 1g |
| Protein | 6g |
| Fat | 7g |
How to Store / Freeze
Store in an airtight container in the refrigerator for up to 10 days. These bites also freeze well for up to 3 months — freeze in a single layer first, then transfer to a freezer bag, and thaw at room temperature for a few minutes before eating.
9. Sugar-Free Carrot Cake Muffin
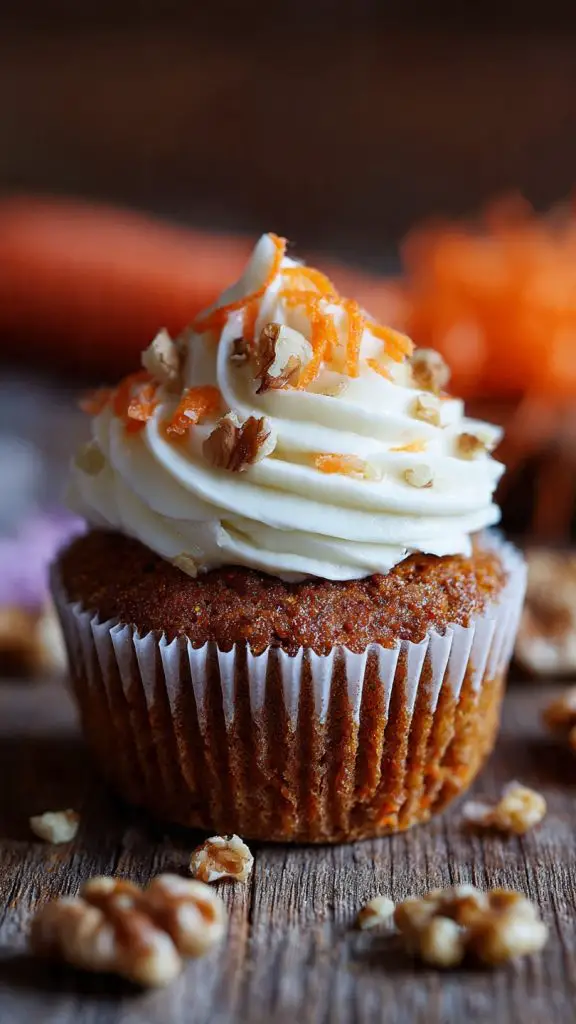
Prep Time10 minutes | Bake Time20 minutesServings10 muffinsCarbs per Serving~9g
Ingredients
- 2 cups almond flour
- 1/3 cup powdered erythritol
- 1 teaspoon baking powder
- 1 teaspoon ground cinnamon
- 1/4 teaspoon ground nutmeg
- 1/4 teaspoon salt
- 3 large eggs
- 1/3 cup melted coconut oil
- 1 teaspoon vanilla extract
- 1 cup finely grated carrot
- 1/4 cup chopped walnuts (optional)
How to Make It
- Preheat the oven to 350°F (175°C) and line a muffin tin with 10 paper liners.
- In a large bowl, whisk together the almond flour, sweetener, baking powder, cinnamon, nutmeg, and salt.
- In a separate bowl, whisk the eggs, melted coconut oil, and vanilla extract together.
- Pour the wet ingredients into the dry ingredients and stir until just combined.
- Fold in the grated carrot and chopped walnuts if using.
- Divide the batter evenly among the muffin liners.
- Bake for 18-20 minutes, until a toothpick inserted into the center comes out clean.
- Let cool in the tin for 5 minutes, then transfer to a wire rack to cool completely before serving.
Why This Is a Diabetic-Friendly Recipe
Almond flour replaces refined wheat flour, providing far fewer carbohydrates along with protein and healthy fat, which helps blunt the blood sugar response compared to a traditional flour-based muffin. A sugar-free sweetener replaces the brown sugar typically used in carrot cake, and grated carrot adds natural sweetness, fiber, and beta-carotene in a controlled amount without relying on a sugary glaze or cream cheese frosting.
Nutrition (Per Muffin)
| Nutrient | Amount |
|---|---|
| Calories | ~190 kcal |
| Carbohydrates | 9g |
| Fiber | 3g |
| Net Carbs | 6g |
| Protein | 6g |
| Fat | 16g |
How to Store / Freeze
Store in an airtight container at room temperature for up to 2 days, or in the refrigerator for up to 1 week. These muffins freeze very well — wrap individually and freeze for up to 3 months, then thaw at room temperature or warm briefly in the microwave before eating.
Disclaimer: These desserts are lower in sugar and refined carbohydrates than traditional versions, but portion size still matters for blood sugar management. Check with your doctor or dietitian about how these treats fit into your personal meal plan, especially if you take insulin or other blood sugar medications.
Nine raw and no-bake desserts that satisfy a sweet tooth while keeping added sugar and refined carbs to a minimum.