Living with diabetes doesn’t mean giving up dessert. With the right ingredients — almond flour instead of white flour, natural sugar substitutes instead of refined sugar, and healthy fats instead of empty carbs — you can enjoy sweet treats without the blood sugar spike. Below are 9 tried-and-tested diabetic-friendly desserts, complete with ingredients, step-by-step instructions, nutrition facts, and freezing tips.
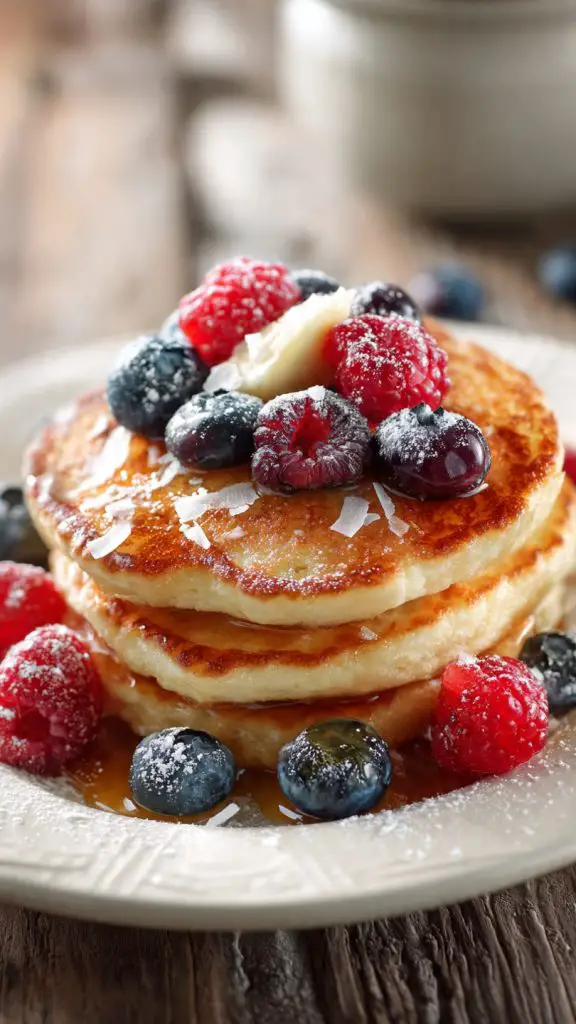
1. Coconut Flour Pancakes
Introduction
These fluffy Coconut Flour Pancakes are a low-carb twist on a breakfast classic. Made with fiber-rich coconut flour instead of white flour, they’re soft, lightly sweet, and gentle on blood sugar — perfect for a slow, steady morning start.
Ingredients
- 1/4 cup coconut flour
- 4 large eggs
- 1/4 cup unsweetened almond milk
- 2 tbsp melted butter or coconut oil
- 1 tsp vanilla extract
- 1/2 tsp baking powder
- 1 tbsp granulated erythritol (or stevia, to taste)
- Pinch of salt
How To Make
- In a bowl, whisk the eggs, almond milk, melted butter, and vanilla until smooth.
- In a separate bowl, combine coconut flour, baking powder, erythritol, and salt.
- Slowly fold the dry ingredients into the wet mixture, stirring until no lumps remain. Let the batter rest for 2–3 minutes (coconut flour thickens as it sits).
- Heat a lightly greased non-stick skillet over medium-low heat.
- Pour small rounds of batter (about 2–3 tbsp each) onto the skillet.
- Cook 2–3 minutes per side, until golden and set in the middle.
- Serve warm with a few fresh berries or a drizzle of sugar-free syrup.
Why This Recipe Is Diabetic-Friendly
Coconut flour is high in fiber and low in digestible carbs, which slows glucose absorption and helps prevent sharp blood sugar spikes. Combined with protein from eggs and healthy fats from coconut oil, this recipe supports a steadier post-meal glucose response than traditional wheat-flour pancakes.
Nutrition (per 2 pancakes, approx.)
- Calories: 180
- Carbohydrates: 6g
- Fiber: 3g
- Net Carbs: 3g
- Protein: 8g
- Fat: 13g
How To Freeze
Let pancakes cool completely on a wire rack. Layer them between sheets of parchment paper and place in a freezer-safe bag or airtight container. Freeze for up to 2 months. Reheat directly from frozen in a toaster or skillet over medium-low heat until warmed through.
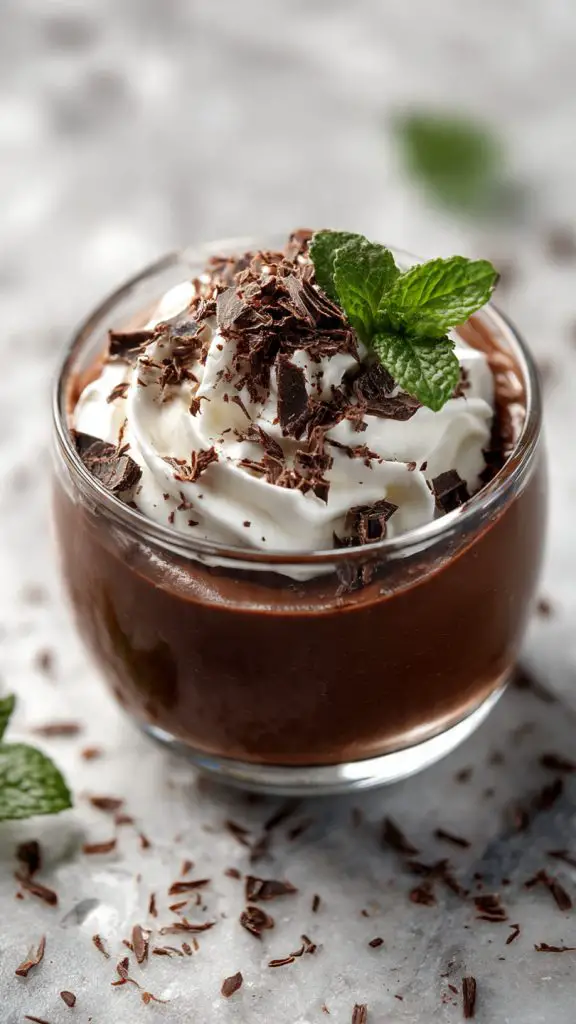
2. Keto Chocolate Pudding
Introduction
Rich, creamy, and deeply chocolatey, this Keto Chocolate Pudding satisfies a sweet craving in just minutes — no baking required, and no sugar crash afterward.
Ingredients
- 1 ripe avocado
- 1/4 cup unsweetened cocoa powder
- 1/4 cup unsweetened almond milk
- 3 tbsp powdered erythritol (or monk fruit sweetener)
- 1 tsp vanilla extract
- Pinch of salt
How To Make
- Scoop the avocado flesh into a food processor or blender.
- Add cocoa powder, almond milk, sweetener, vanilla, and salt.
- Blend until completely smooth, scraping down the sides as needed.
- Taste and adjust sweetness if desired.
- Spoon into small serving bowls or cups.
- Chill in the refrigerator for at least 30 minutes before serving.
Why This Recipe Is Diabetic-Friendly
Avocado replaces sugar and cream as the pudding’s base, providing heart-healthy monounsaturated fats and fiber instead of refined carbohydrates. The sweetener used doesn’t raise blood glucose the way table sugar does, making this a dessert that’s rich in flavor without the metabolic spike.
Nutrition (per 1/2 cup serving, approx.)
- Calories: 150
- Carbohydrates: 10g
- Fiber: 6g
- Net Carbs: 4g
- Protein: 3g
- Fat: 12g
How To Freeze
Portion the pudding into small airtight containers, leaving a bit of headspace. Freeze for up to 1 month. Thaw overnight in the refrigerator and stir well before serving, as texture may soften slightly upon thawing.
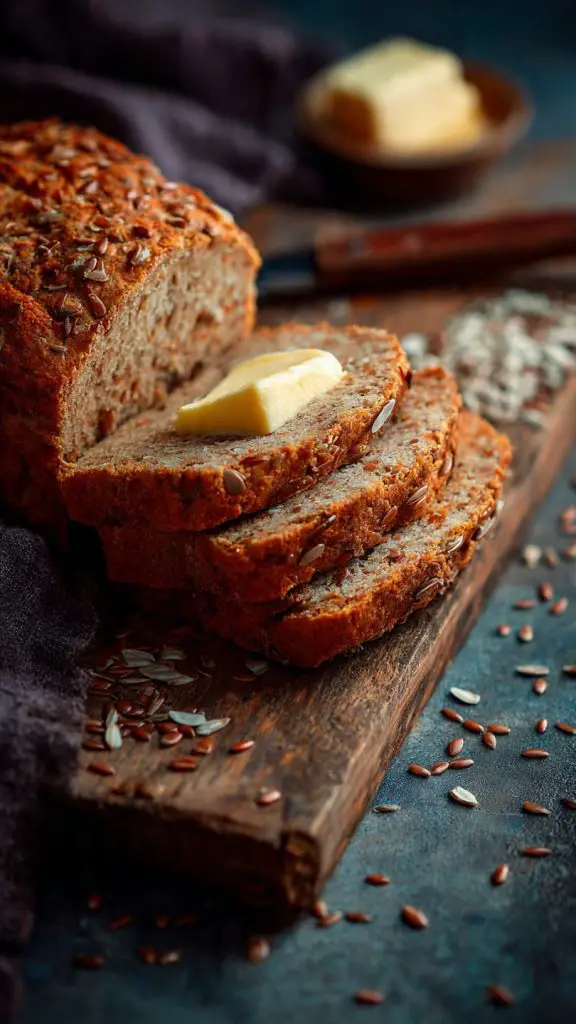
3. Flaxseed Bread
Introduction
This hearty Flaxseed Bread is dense, nutty, and satisfying — a low-carb alternative to traditional sandwich bread that pairs well with both sweet and savory toppings.
Ingredients
- 1 1/2 cups ground flaxseed (flaxseed meal)
- 1 tbsp baking powder
- 1/2 tsp salt
- 5 large eggs
- 1/3 cup water
- 1/4 cup melted coconut oil or olive oil
- 1 tbsp erythritol (optional, for slight sweetness)
How To Make
- Preheat oven to 175°C (350°F) and line a small loaf pan with parchment paper.
- In a bowl, mix ground flaxseed, baking powder, and salt.
- In another bowl, whisk eggs, water, oil, and erythritol.
- Combine wet and dry ingredients, stirring until a thick batter forms. Let sit for 2 minutes to thicken further.
- Pour the batter into the prepared loaf pan and smooth the top.
- Bake for 30–35 minutes, until a toothpick inserted in the center comes out clean.
- Cool in the pan for 10 minutes, then transfer to a wire rack to cool completely before slicing.
Why This Recipe Is Diabetic-Friendly
Flaxseed is extremely low in net carbs and exceptionally high in fiber and omega-3 fatty acids, which help slow digestion and moderate blood sugar response. Unlike regular bread made with refined flour, this loaf has minimal impact on glucose levels while still delivering a satisfying, bread-like texture.
Nutrition (per slice, approx. 12 slices per loaf)
- Calories: 110
- Carbohydrates: 4g
- Fiber: 3g
- Net Carbs: 1g
- Protein: 5g
- Fat: 9g
How To Freeze
Slice the cooled loaf completely, then place parchment paper between slices. Store in a freezer bag or airtight container for up to 3 months. Toast slices directly from frozen or let thaw at room temperature for about 15 minutes.
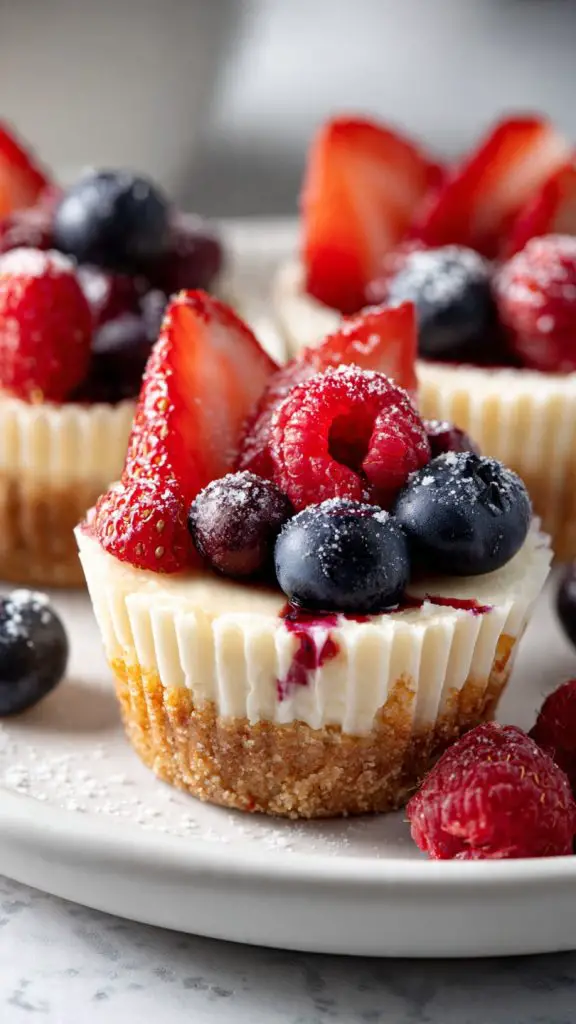
4. Berry Cheesecake Bites
Introduction
These bite-sized Berry Cheesecake treats deliver all the creamy, tangy flavor of classic cheesecake in a no-bake, low-sugar, portion-controlled form.
Ingredients
Crust:
- 1 cup almond flour
- 2 tbsp melted butter
- 1 tbsp erythritol
Filling:
- 8 oz cream cheese, softened
- 1/4 cup sour cream
- 3 tbsp powdered erythritol
- 1 tsp vanilla extract
- 1/2 cup fresh mixed berries (raspberries, blueberries), chopped
How To Make
- Line a mini muffin tin with paper liners.
- Mix almond flour, melted butter, and erythritol; press about 1 tsp into the bottom of each liner to form a crust.
- In a bowl, beat cream cheese, sour cream, erythritol, and vanilla until smooth and fluffy.
- Gently fold in the chopped berries.
- Spoon the filling over each crust, smoothing the tops.
- Refrigerate for at least 3 hours, or until firm.
- Top with an extra berry before serving.
Why This Recipe Is Diabetic-Friendly
By replacing the graham cracker crust with almond flour and using a sugar substitute in place of granulated sugar, this recipe dramatically cuts the carbohydrate load compared to traditional cheesecake. The small portion size also naturally supports better blood sugar management.
Nutrition (per bite, approx. 12 bites total)
- Calories: 110
- Carbohydrates: 3g
- Fiber: 1g
- Net Carbs: 2g
- Protein: 2g
- Fat: 10g
How To Freeze
Freeze the bites (still in paper liners) on a tray until solid, then transfer to an airtight container with parchment between layers. Freeze for up to 2 months. Thaw in the refrigerator for 1–2 hours before serving.
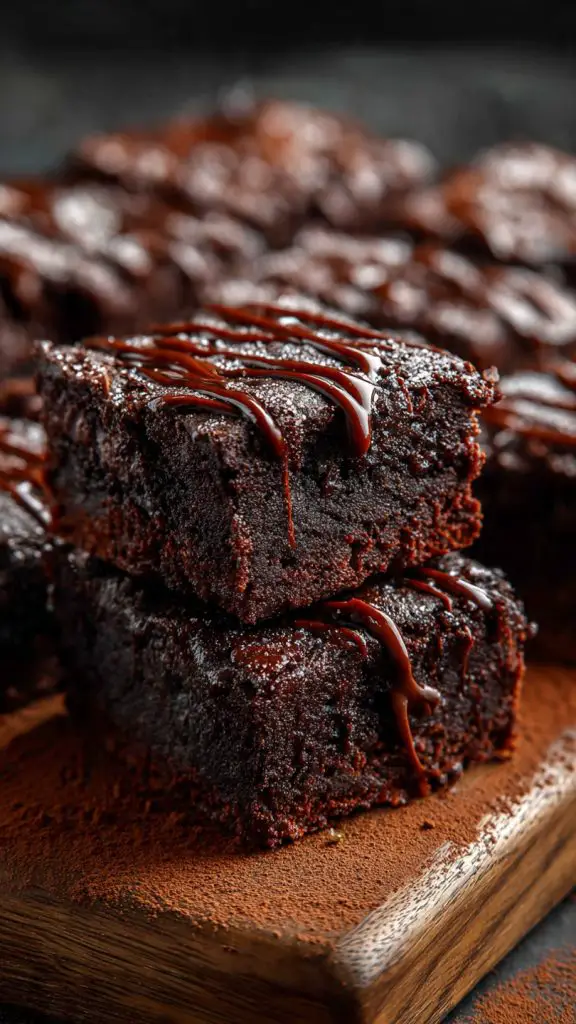
5. Zucchini Brownies
Introduction
Moist, fudgy, and secretly packed with vegetables, these Zucchini Brownies prove that a diabetic-friendly dessert can still taste indulgent.
Ingredients
- 1 cup grated zucchini, excess moisture squeezed out
- 1/2 cup almond flour
- 1/3 cup unsweetened cocoa powder
- 1/2 cup granulated erythritol
- 2 large eggs
- 1/4 cup melted coconut oil
- 1 tsp vanilla extract
- 1/2 tsp baking powder
- Pinch of salt
- 2 tbsp sugar-free dark chocolate chips (optional)
How To Make
- Preheat oven to 175°C (350°F) and line an 8×8-inch baking pan with parchment paper.
- In a large bowl, whisk eggs, melted coconut oil, erythritol, and vanilla.
- Add cocoa powder, almond flour, baking powder, and salt; mix until combined.
- Fold in the grated zucchini and chocolate chips, if using.
- Pour batter into the prepared pan and spread evenly.
- Bake for 22–25 minutes, until a toothpick comes out mostly clean.
- Cool completely in the pan before slicing into squares.
Why This Recipe Is Diabetic-Friendly
Zucchini adds moisture and volume without adding significant sugar or carbs, allowing for a smaller amount of sweetener overall. Almond flour further reduces the carbohydrate content compared to wheat flour, resulting in a rich, chocolatey treat with a much gentler effect on blood glucose.
Nutrition (per brownie, approx. 9 brownies total)
- Calories: 130
- Carbohydrates: 6g
- Fiber: 2g
- Net Carbs: 4g
- Protein: 4g
- Fat: 10g
How To Freeze
Wrap individual brownies tightly in plastic wrap, then place in a freezer bag. Freeze for up to 3 months. Thaw at room temperature for 20–30 minutes, or microwave for 15–20 seconds for a warm, fudgy texture.
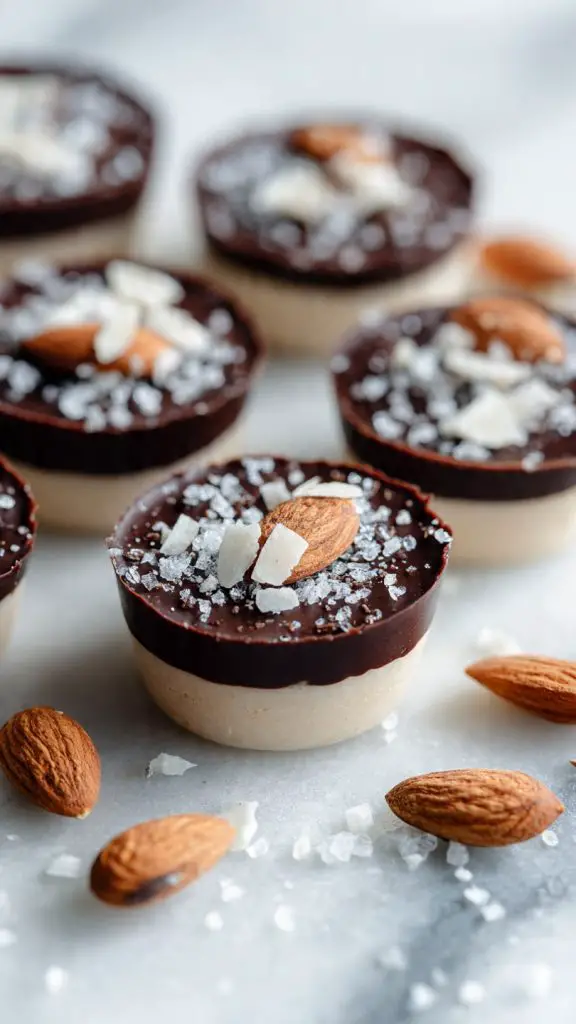
6. Almond Butter Fat Bombsp
Introduction
These no-bake Almond Butter Fat Bombs are a quick, energy-dense treat designed to satisfy a sweet craving with minimal carbs and maximum healthy fat.
Ingredients
- 1/2 cup natural almond butter (unsweetened)
- 2 tbsp coconut oil, melted
- 2 tbsp powdered erythritol
- 1/2 tsp vanilla extract
- Pinch of sea salt
- 2 tbsp unsweetened shredded coconut (optional, for coating)
How To Make
- In a bowl, mix almond butter, melted coconut oil, erythritol, vanilla, and salt until smooth.
- Place the bowl in the freezer for 10–15 minutes, until slightly firm but scoopable.
- Using a small scoop or spoon, form the mixture into 12 small balls.
- Roll each ball in shredded coconut, if desired.
- Place on a parchment-lined tray and freeze for 20 minutes to set.
- Store in the refrigerator or freezer until ready to eat.
Why This Recipe Is Diabetic-Friendly
Fat bombs are built almost entirely on healthy fats and minimal net carbs, meaning they provide satiety and energy without spiking blood glucose. Almond butter also contains fiber and protein, which further slow any carbohydrate absorption from the small amount of sweetener used.
Nutrition (per fat bomb, approx. 12 total)
- Calories: 95
- Carbohydrates: 2g
- Fiber: 1g
- Net Carbs: 1g
- Protein: 2g
- Fat: 9g
How To Freeze
These are best stored in the freezer. Place in a single layer in an airtight container with parchment between layers. Freeze for up to 3 months and enjoy straight from the freezer, as they stay soft due to their high fat content.
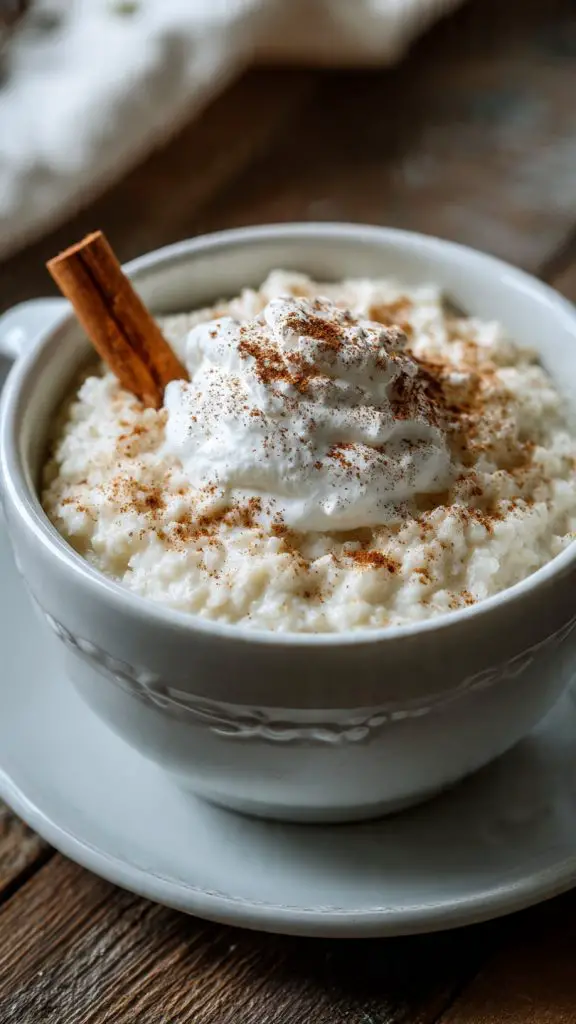
7. Cauliflower Rice Pudding
Introduction
This creative, low-carb twist on classic rice pudding uses riced cauliflower to create a creamy, comforting dessert without the traditional carb load of rice.
Ingredients
- 2 cups riced cauliflower
- 1 cup unsweetened almond milk (or coconut milk)
- 2 tbsp granulated erythritol
- 1/2 tsp cinnamon
- 1/2 tsp vanilla extract
- 1 egg yolk
- Pinch of salt
How To Make
- In a saucepan, combine riced cauliflower and almond milk. Bring to a gentle simmer over medium heat.
- Cook, stirring occasionally, for 10–12 minutes, until the cauliflower is very soft and has absorbed most of the liquid.
- In a small bowl, whisk the egg yolk with a spoonful of the warm liquid to temper it, then stir it back into the saucepan.
- Add erythritol, cinnamon, vanilla, and salt.
- Cook for another 2–3 minutes, stirring constantly, until slightly thickened.
- Remove from heat and let cool slightly; the pudding will continue to thicken as it cools.
- Serve warm or chilled, with a light dusting of cinnamon.
Why This Recipe Is Diabetic-Friendly
Cauliflower has a fraction of the carbohydrates found in white rice, making this pudding dramatically lower in net carbs than a traditional recipe. The dish still delivers a similar creamy texture and comforting flavor, so it satisfies the craving without the typical glucose response.
Nutrition (per 1/2 cup serving, approx.)
- Calories: 80
- Carbohydrates: 6g
- Fiber: 2g
- Net Carbs: 4g
- Protein: 3g
- Fat: 5g
How To Freeze
Cool completely, then transfer to an airtight container. Freeze for up to 1 month. Note that the texture may become slightly grainy after freezing; thaw overnight in the refrigerator and stir well, adding a splash of almond milk if needed to restore creaminess.
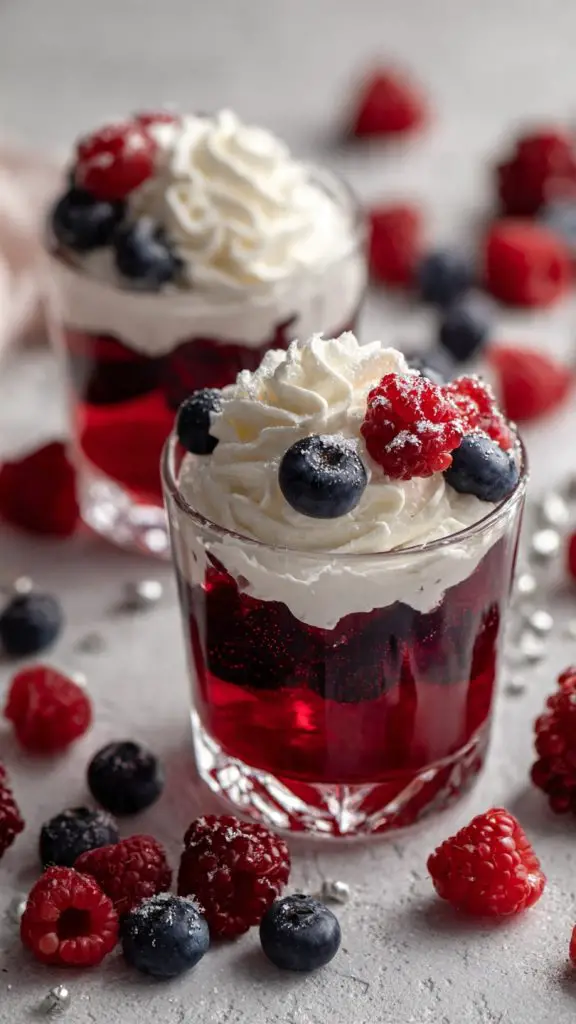
8. Sugar-Free Jello with Cream
Introduction
Light, wobbly, and refreshing, this Sugar-Free Jello with Cream is an easy make-ahead dessert that’s perfect for satisfying a light sweet craving without any added sugar.
Ingredients
- 2 cups water, divided
- 1 packet (0.3 oz) sugar-free gelatin mix (any flavor)
- 1/2 cup heavy whipping cream
- 1 tbsp powdered erythritol
- 1/2 tsp vanilla extract
How To Make
- Bring 1 cup of water to a boil and pour it into a bowl with the sugar-free gelatin mix. Stir for 2 minutes until fully dissolved.
- Stir in the remaining 1 cup of cold water.
- Pour the mixture into serving cups or a shallow dish.
- Refrigerate for at least 3–4 hours, or until fully set.
- Just before serving, whip the heavy cream with erythritol and vanilla until soft peaks form.
- Top the set jello with a dollop of whipped cream.
Why This Recipe Is Diabetic-Friendly
Using a sugar-free gelatin base removes the refined sugar found in standard jello desserts, which typically causes a fast glucose spike. The whipped cream topping adds fat rather than carbohydrate, helping to keep the overall dessert low in net carbs.
Nutrition (per serving, approx. 4 servings total)
- Calories: 90
- Carbohydrates: 2g
- Fiber: 0g
- Net Carbs: 2g
- Protein: 2g
- Fat: 8g
How To Freeze
Gelatin desserts don’t freeze well on their own, as freezing breaks down their structure and causes separation upon thawing. It’s best to prepare the jello base fresh and only refrigerate; if needed, the unwhipped cream can be frozen separately for up to 1 month and whipped fresh after thawing.
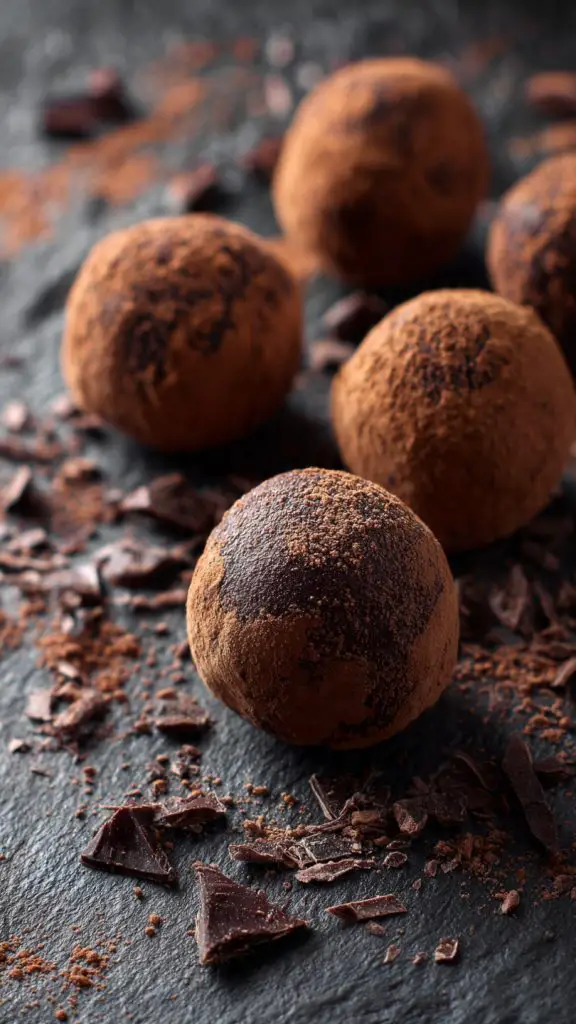
9. Dark Chocolate Avocado Truffles
Introduction
Decadent and silky, these Dark Chocolate Avocado Truffles taste like a rich confectionery treat while staying low in sugar and high in healthy fats.
Ingredients
- 1 ripe avocado
- 1/2 cup unsweetened cocoa powder, plus extra for coating
- 3 tbsp powdered erythritol
- 1/2 tsp vanilla extract
- Pinch of salt
- 2 tbsp melted sugar-free dark chocolate (85%+, optional, for richer flavor)
How To Make
- Mash the avocado thoroughly until completely smooth, or blend in a food processor.
- Add cocoa powder, erythritol, vanilla, salt, and melted dark chocolate if using.
- Mix until a thick, uniform truffle dough forms.
- Chill the mixture in the refrigerator for 30 minutes, until firm enough to shape.
- Scoop small portions and roll into balls using your hands.
- Roll each truffle in extra cocoa powder to coat.
- Store in the refrigerator until ready to serve.
Why This Recipe Is Diabetic-Friendly
Avocado provides a creamy, fat-rich base that mimics the richness of traditional truffle ganache without relying on sugar or heavy cream. The healthy monounsaturated fats and fiber in avocado help blunt the impact of the small amount of sweetener used, making this a dessert with minimal effect on blood glucose.
Nutrition (per truffle, approx. 12 total)
- Calories: 60
- Carbohydrates: 4g
- Fiber: 2g
- Net Carbs: 2g
- Protein: 1g
- Fat: 5g
How To Freeze
Place truffles in a single layer on a parchment-lined tray and freeze until solid, about 1 hour. Transfer to an airtight container with parchment between layers and freeze for up to 2 months. Thaw in the refrigerator for 15–20 minutes before serving.
Note: These recipes are general nutrition guidance for low-sugar dessert options and are not a substitute for personalized medical or dietary advice. Anyone managing diabetes should consult their healthcare provider or a registered dietitian before making significant dietary changes.